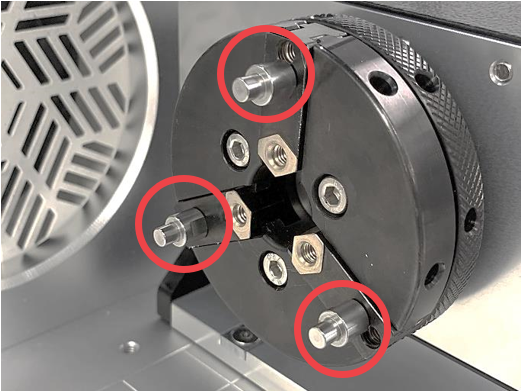
※Auto tilt rotary clamp is sold separately.
| Finger Chuck Handle (CP-31) |
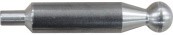 |
2EA | Handle for tightening/widening rotary clamp ※Also see external adjustment knob |
| Finger Chuck (8mm) (LMC-05-8) |
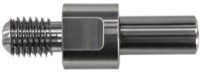 |
3EA | For holding rings in place when marking the inside or outside. |
| Finger Chuck (4mm) (LMC-05-4) |
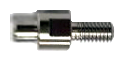 |
3EA | For holding rings in place when marking the inside or outside. |
| Finger Chuck (2mm) (LMC-05-2) |
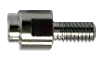 |
3EA | For holding thin rings in place when marking the inside or outside. |
| Finger Skin (CP-41) |
 |
1SET | For protecting finger chuck. |
| Finger Chuck Spanner (CP-21) |
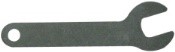 |
6EA | For tightening/unscrewing the finger chuck. |
| Auto Tilt Rotary Clamp (LMC-161) |
 |
1EA | For holding ring materials in place. ※4mm chuck finger is included. |
| Anti-drop pin (6Ø) (18mm) |
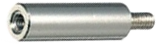 |
1EA | To secure the rotary clamp and to prevent it from falling during operation. |
| Setting tool | 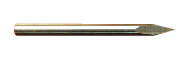 |
1EA | For setting rotary origin. |
* Optional (Purchased separately)
| Finger Chuck (6mm) (LMC-05-6) |
|
1EA | For holding materials with various shapes in place. |
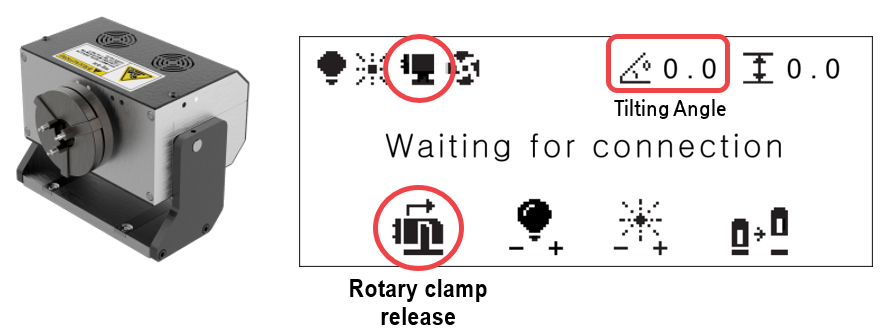
※When using the rotary clamp auto tilting function, set the tilting origin to the 0 degree. (See [Machine setting] -5. Rotary origin for further details)
¶ How to connect the rotary clamp
- Place the rotary clamp on the docking station and slide it to the left.
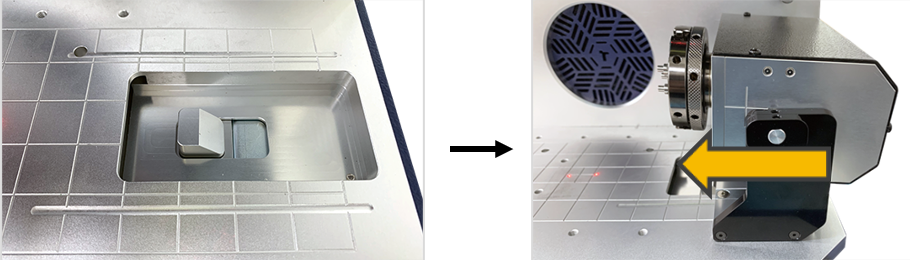
- Push the rotary clamp completely to the left until the push button fully lifts then beeps. Once the clamp is connected to machine, the machine will automatically recognize the device then it will begin to perform the initial operation.
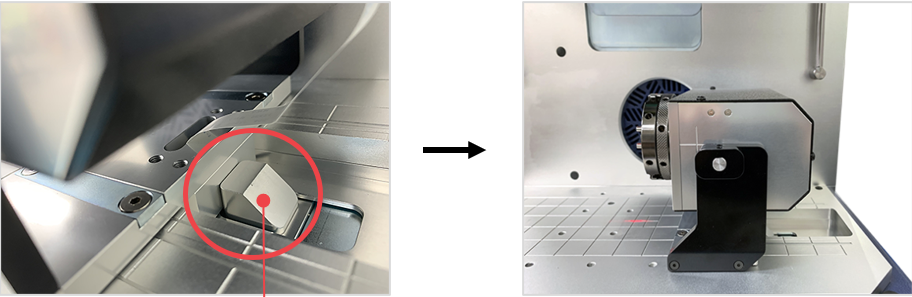
- A mounting icon will appear on the screen.
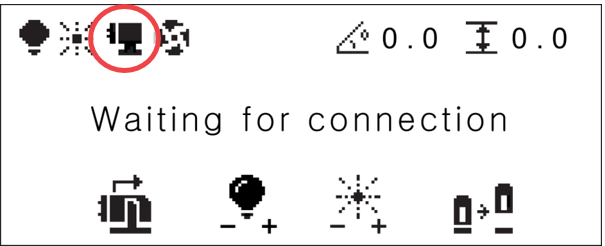
- Insert the anti-drop pin into the work area to secure the rotary clamp and to prevent it from falling during operation.
Anti-drop pin (6Ø) (18mm)
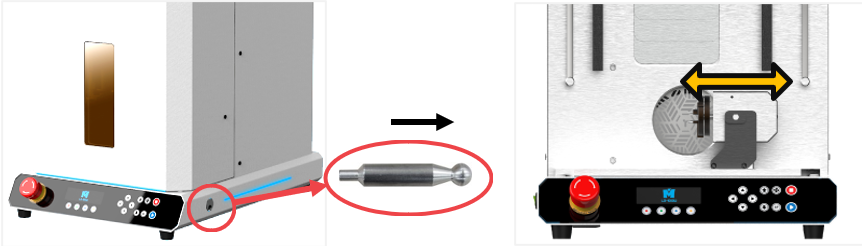
- Use the external adjustment knob (on the right side of the machine) to slightly adjust the position of the rotary clamp from left to right/right to left.
¶ How to disconnect the rotary clamp
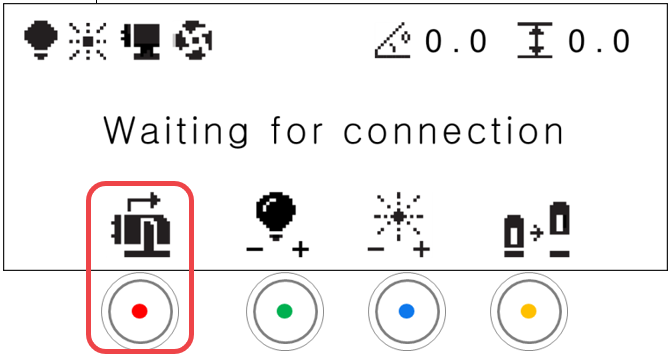
- Press the rotary clamp release button to disconnect the rotary clamp.
- The rotary clamp will be tilted to 90 degrees. Follow the instruction that will appear on the screen.
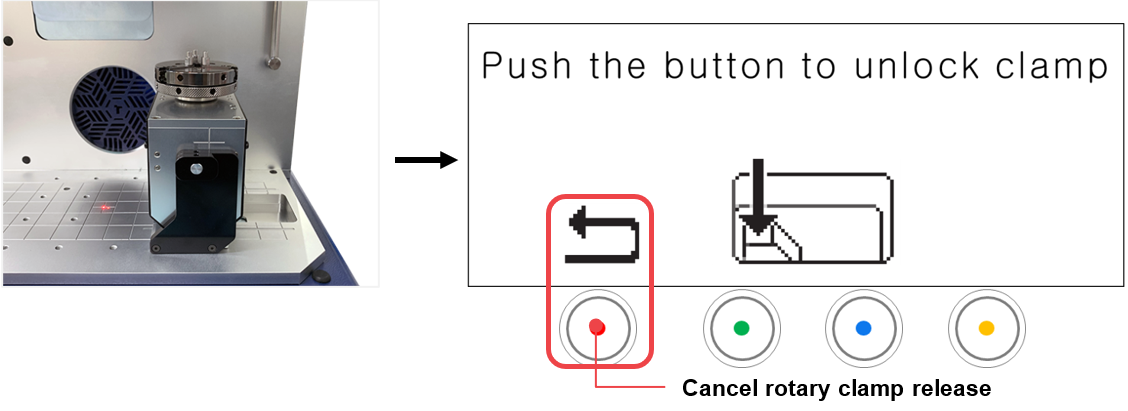
- Press the push button to release the rotary clamp then slide it to the right to put it aside.
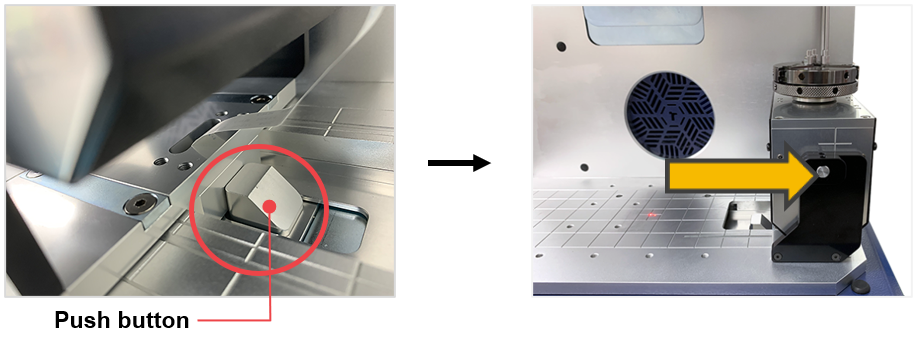
¶ How to secure the ring when marking the outside
Put the ring on the finger chuck then move the finger chuck handle in opposite directions to secure the ring.
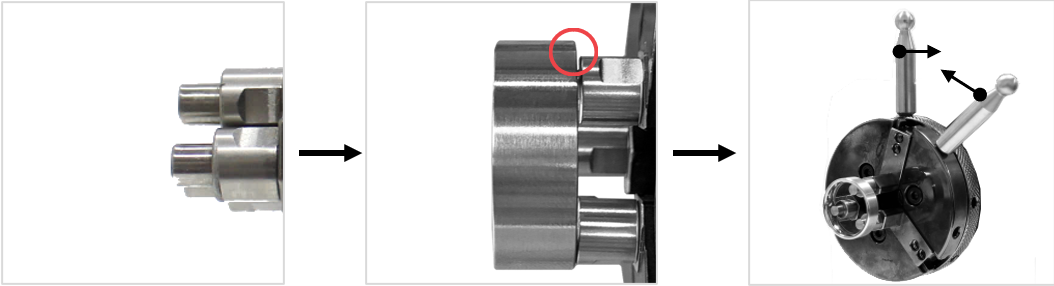
¶ How to secure the ring when marking the inside
Insert the ring into the finger chuck then move the finger chuck handle in opposite directions to secure the ring. Use the finger chuck handle to widen or tighten the gap of the finger chuck.
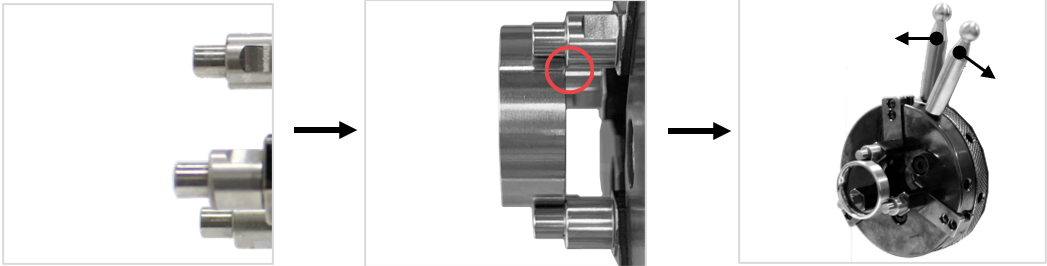
¶ How to secure a thin ring when marking the inside
When marking on thin rings, first, replace the finger chuck to 2mm with a finger chuck spanner. Then, insert the ring into the finger chuck. Last, fasten the ring with the finger chuck handle. To widen or tighten the gap of the finger chuck, use the finger chuck handle.
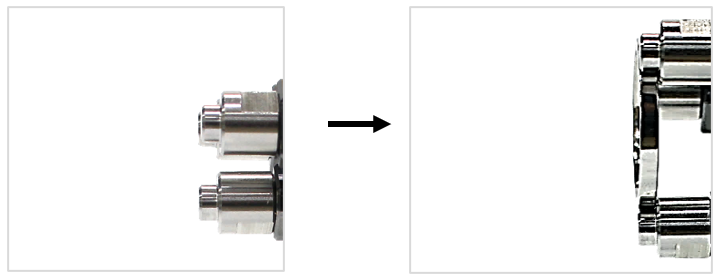
[Bangle]