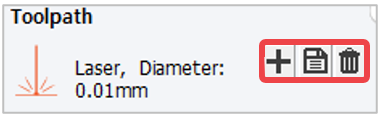
For CNC toolpaths, options are configured during toolpath generation, so they cannot be changed on this screen.
To modify the options, you must regenerate the toolpath on the previous screen.
The same guidance message is also displayed on that screen.
[This is a CNC toolpath. To change options, please regenerate the toolpath from the previous screen.]
Once the toolpath is created, you can set the laser marking options in the object property window then proceed to immediate marking by clicking the [Laser] button.
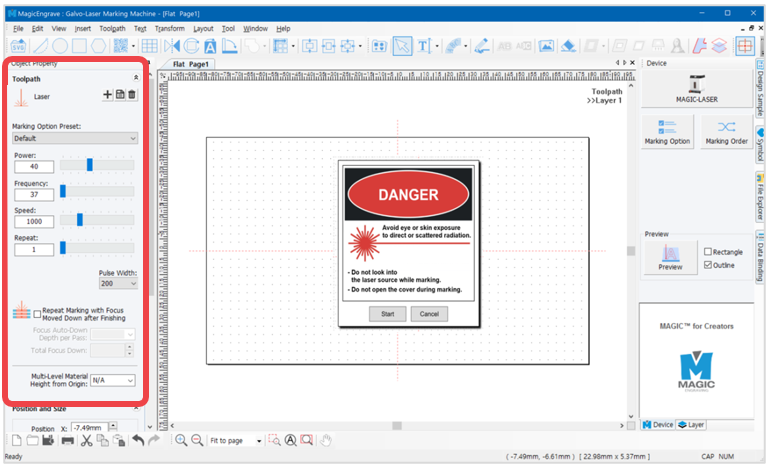
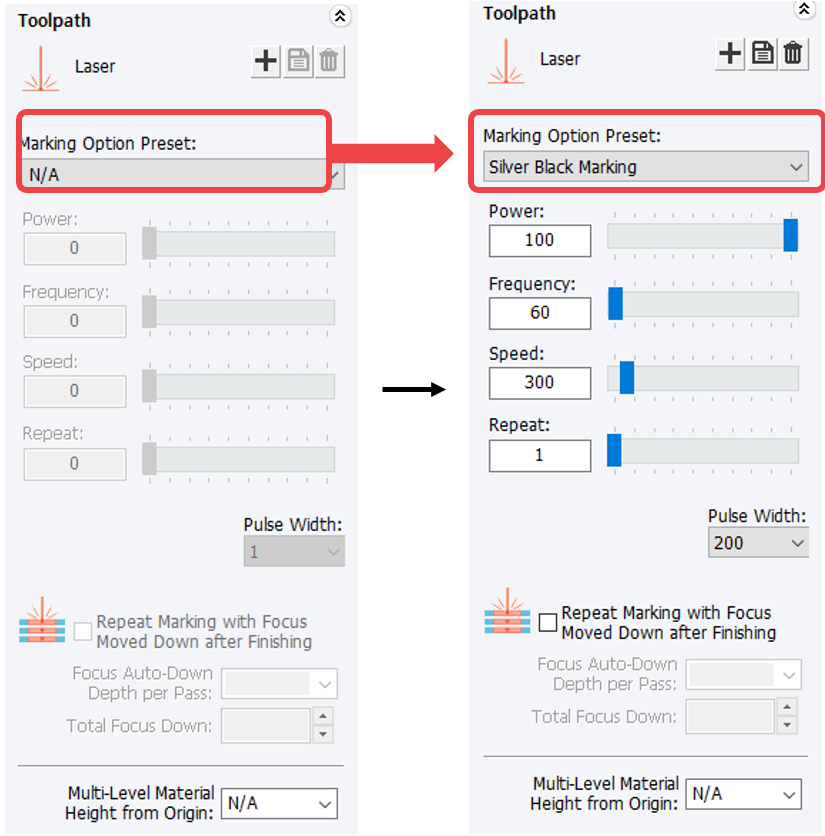
| Marking Option Preset | Selects the marking option ※See details below. |
| Power | Adjusts the laser power. |
| Frequency | Adjusts the laser frequency. |
| Speed | Adjusts the marking speed. |
| Repeat | Adjusts the marking repetition. |
| Pulse Width | Adjusts the pulse width. |
| Repeat Marking with Focus Moved Down after Finish |
Sets the marking depth when setting up Deep Marking. ex) 0.05mm per marking, 2 times - Auto lowering depth after marking :0.05mm - Z auto lowering total depth: 0.1mm |
| Multi-Level Material Height from Origin | Batch engraving on materials with multi-heights. Enter the heights from the focus surface to marking surface in the program, then the system adjusts focus according to the material heights automatically and performs engraving. ex) Marking moves up by 1mm ※See details [Multi-Height Auto Leveling Marking]. |
[Add/Edit and Save/Delete]
Laser options such as power and speed can be set in advance.
Click [Edit and Save] then click the button at the bottom to change options.