Select a Toolpath then click the [Engraver] button on the top-right of the screen to transfer the data of the selected toolpath to the machine.
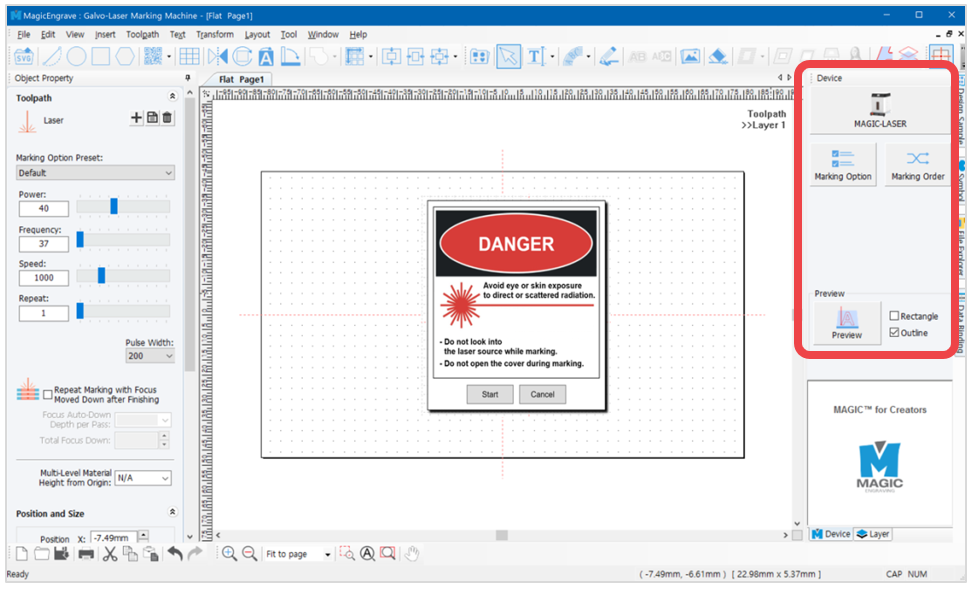
After creating the toolpath, set the engraving option. Then, click the [Laser] button to send the marking data.
 [Marking option]
Click the [Marking Option] button to set the laser option. (✽See Laser option for details.)
 [Marking order]
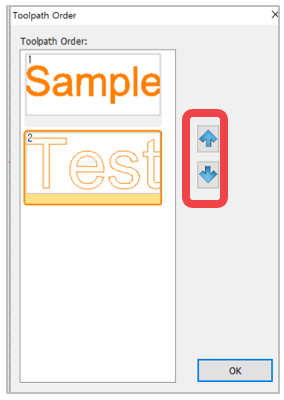
The Toolpaths are put in order if two or more are selected for marking.
The order can be changed by clicking [Up] and [Down] buttons on the right.
[Camera]
Activate the camera. This feature does not support the use of the rotary clamp.
JANUS has a built-in camera that enables actual viewing of the marking area. The camera captures actual images of the material then sends the images to the program along with the size and position of the material (on the work area), allowing users to directly create designs by viewing the actual image of the material and designate a specific size and location to mark.
✽JANUS Viewing area: 80mm x 80mm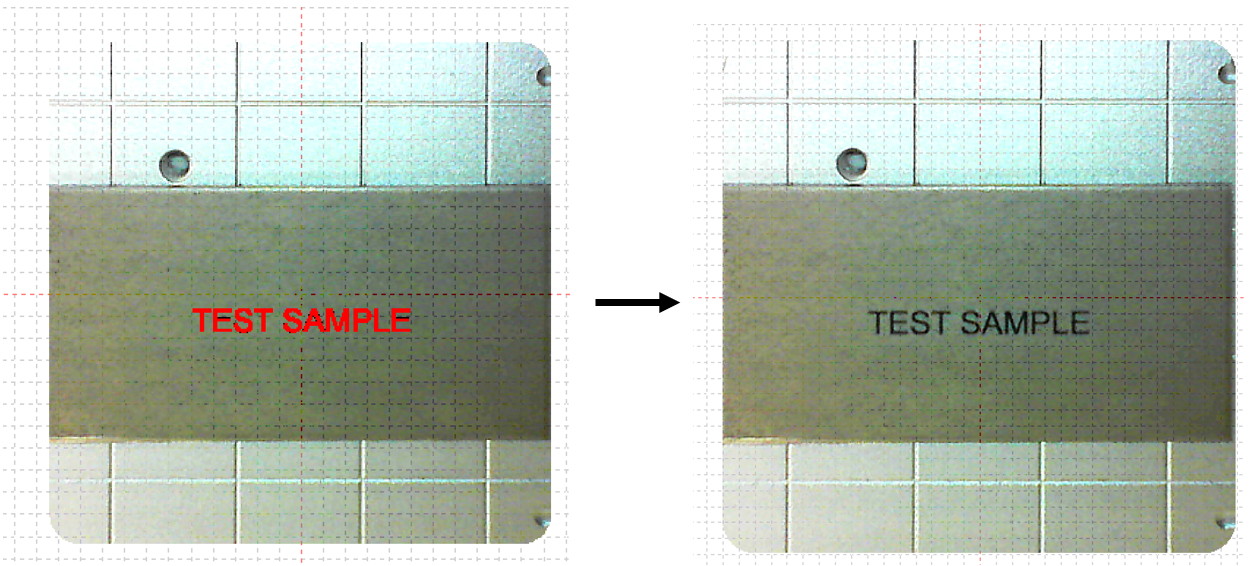
The laser must be focused in order to use auto positioning properly.
Since the camera is calibrated based on the focus of the laser, the accuracy of auto positioning is reduced if the laser is out of focus.
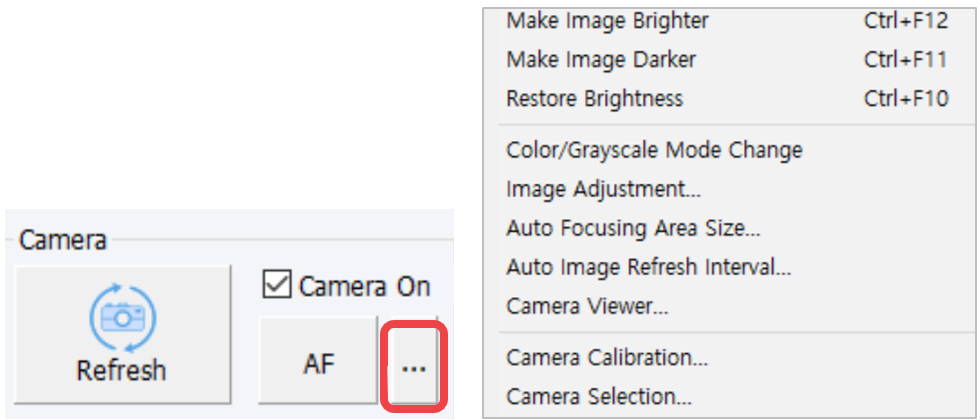
| Refresh | Renew the camera image displayed in the MagicEngrave Program. |
| Camera On | Activate/Inactivate the camera function. When [Camera on], auto positioning is also activated. |
| AF | See [8. Auto Focus] for details. |
| Make Image Brighter | Set the camera image brighter. |
| Make Image Darker | Set the camera image darker. |
| Restore Brightness | Restore the camera brightness. |
| Color/Grayscale Mode Change | Change image mode to Color or Grayscale. |
| Image Adjustment | Set the camera image options such as contrast, grayscale etc.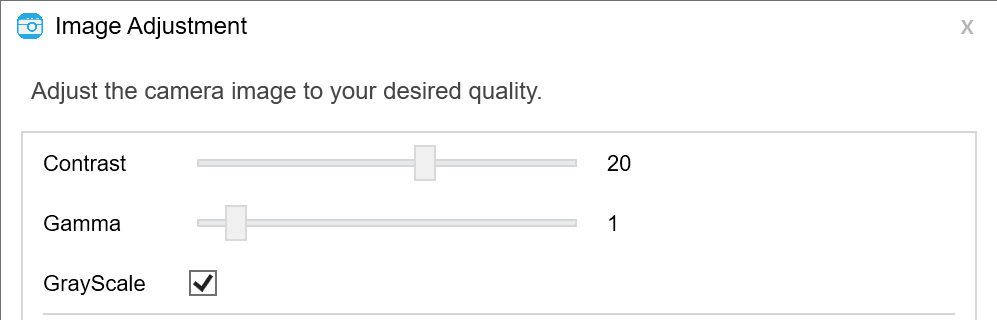 |
| Auto Focusing Area Size | Set the size of the camera image displayed in the program. ✽Take note that the size of the camera image cannot exceed the maximum area of the camera function supported by the machine. 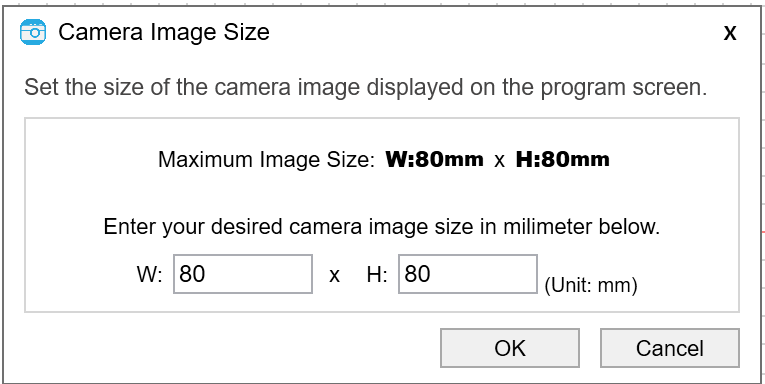 |
| Auto Image Refresh Interval | Set the auto image renewal interval displayed in the program. - Setting range: min. 5 sec. ~ max. 30 sec. 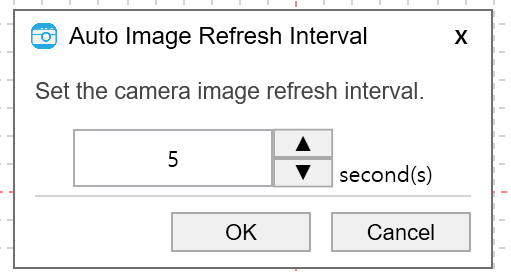 |
| Camera Viewer | View the camera image in a new window.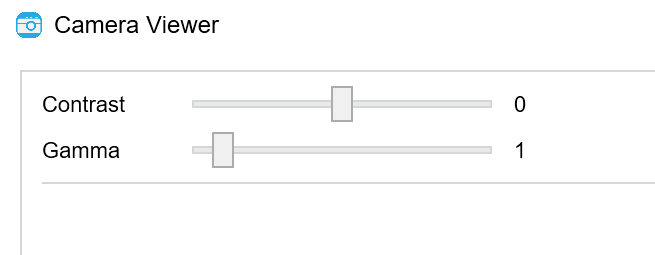 |
| Camera Calibration | See [Machine setting] → [7. Camera] |
| Camera Selection | Select your camera device. The camera for laser is set automatically even if there are multiple default camera devices connected to the PC. The camera device can also be selected manually. 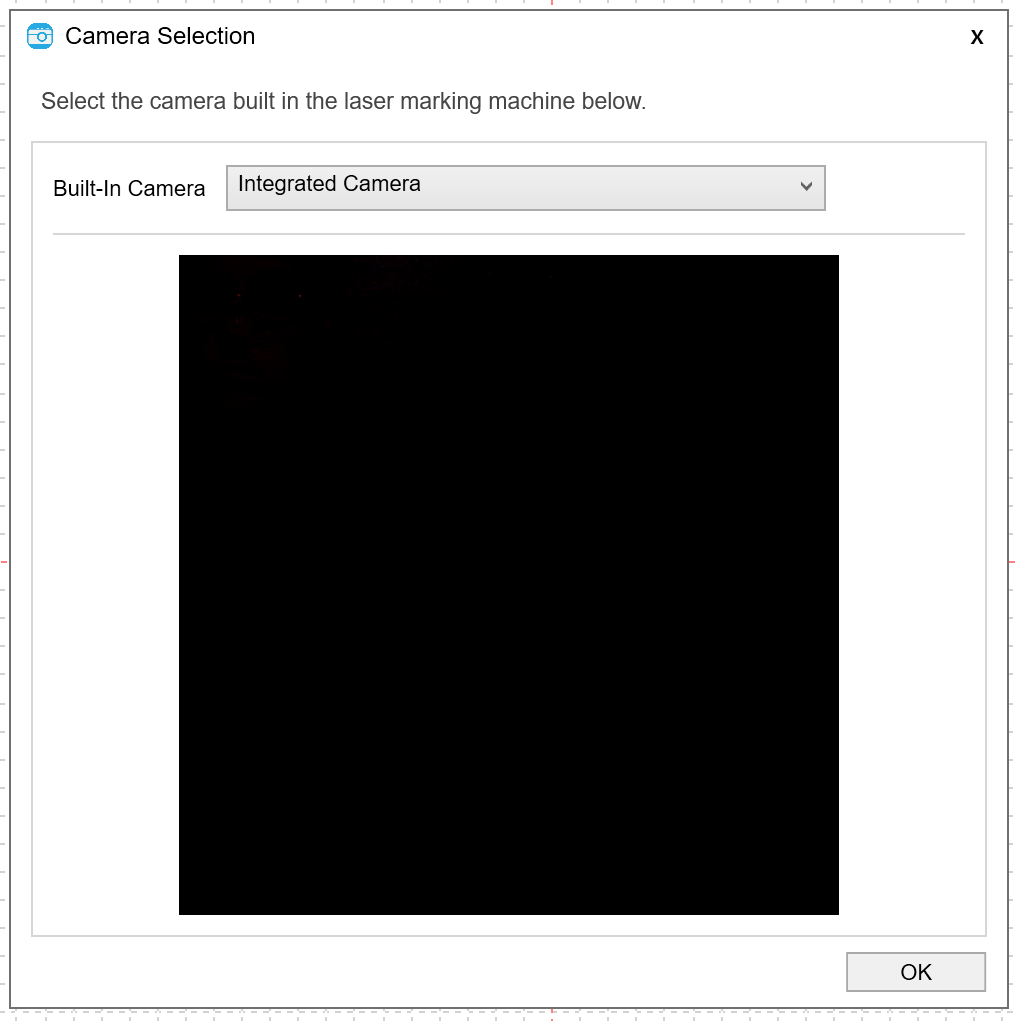 |
 [Preview]
Select the object then click [Preview] button to preview the marking area.
✽This function is only available after selecting the object.
✽In the preview, you can use the arrow keys to change the position of the marking area. (However, this is not possible when auto positioning function is activated.)
The preview icon changes once selected.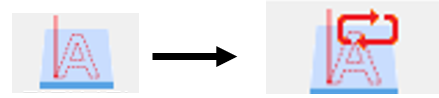
| Rectangle | The marking area is indicated by a rectangle. However, rotary marking is only available for Rectangle preview. |
| Outline | The marking area is indicated by an object outline. |