CNC head for holding cutting tools and engraving tips.

The tools of the machine are sharp, and may cause serious physical injury.
| CNC head | |
|---|---|
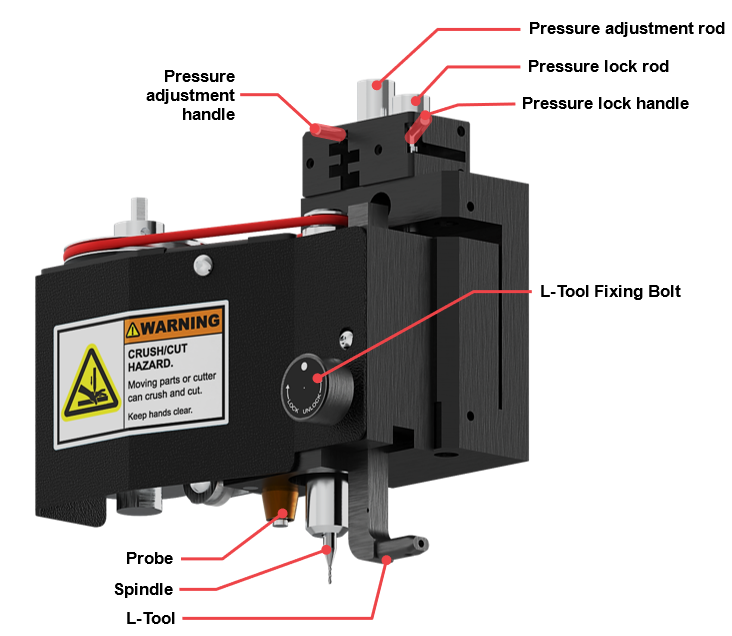
| Pressure adjustment rod | Supports pressure adjustment with the handle. |
| Pressure adjustment handle | Adjusts the pressure of the engraving tool. |
| Pressure lock rod | Supports pressure locking with the handle. |
| Pressure lock handle | Locks the pressure of the engraving tool. |
| L-Tool Fixing Bolt | Secures the L-tool. |
| Probe | Measures the height of the engraving material. |
| Spindle | Secures the tool for engraving. ※To change tools, use a 2mm T-wrench. |
| L-Tool | Secures the L-tool tip when engraving on the inside of rings or bangles. |
¶ Switching Tools
Do not let any of your body parts or any foreign objects get caught in the machine during operation.
The tools of the machine are sharp, and may cause serious physical injury.

Please wear safety glasses during engraving process for safety.
Debris like metal chips and dusts may cause serious eye injury if they get stuck in the eye.
¶ Spindle
| Name | Picture | Quantity | Usage |
| T-wrench (2mm) |
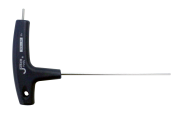 |
1EA | Tool for tightening/unscrewing of bolt. |
As shown below, insert the 2mm wrench into the fixing bolt. Turn the wrench to the left to unscrew bolt. To prevent the tool from falling to the floor, grab tool with your hand then pull it out. Once the tool is removed, replace it with a new tool then secure it using a wrench for tightening bolts. ※See package contents
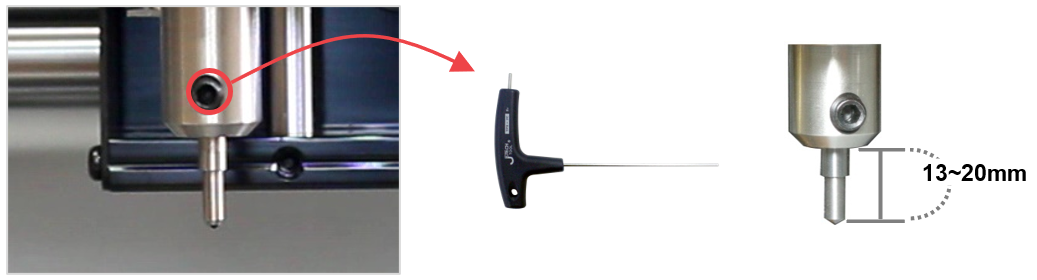
When unscrewing the tool fixing bolt, hold the tool with your hand while unscrewing to avoid the bolt from dropping on the floor.
¶ L-Tool
| Name | Picture | Quantity | Usage |
| L-wrench (1.5mm) |
 |
1EA | Tool for tightening/replacement of bolt. |
| L-tool fixing bolt (M3x4) |
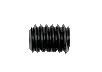 |
3EA | L-tool tip fixing bolt |
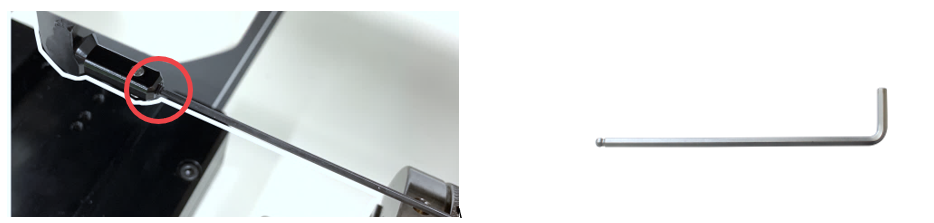
As shown below, insert the 1.5mm wrench into the fixing bolt. Turn the wrench to the left to unscrew bolt. To prevent the tool from falling to the floor, grab tool with your hand then pull it out. Once the tool is removed, replace it with a new tool then secure it using a wrench for tightening bolts. ※See package contents
¶ Pressure
When cutting or engraving with a V-cutter or end mill, lock the tension. This reduces vibration during operation, improves cutting and engraving quality, and extends tool life.
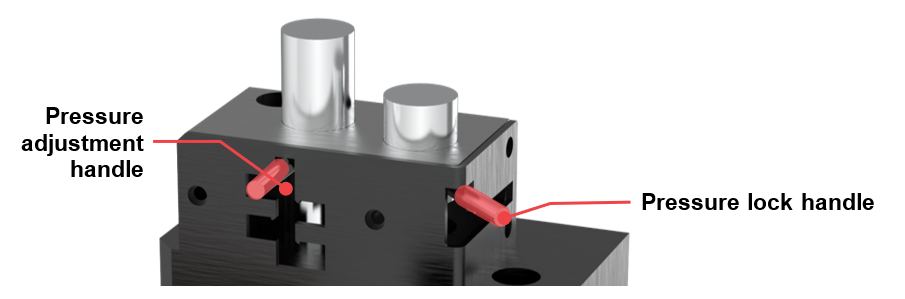
1. Position the pressure adjustment handle in the slot marked with a number, as shown in the image below, to set the head pressure according to the selected number.
(Order: 5 > 4 > 3 > 2 > 1, with 5 providing the highest pressure.)
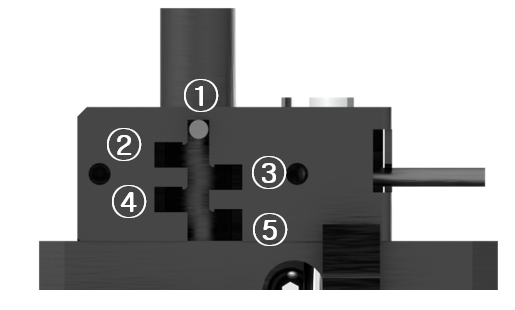
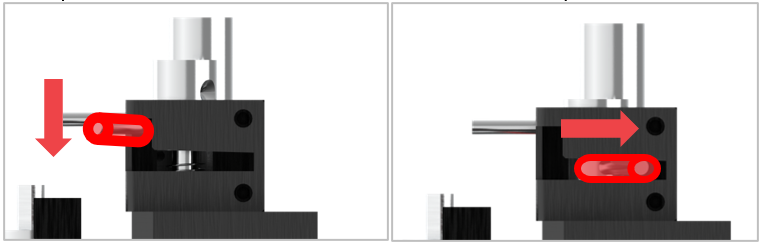
2. Push the pressure lock handle down and to the right, as shown below, to engage it in the groove and lock the head pressure. To release the lock, move the handle up and to the left.
¶ Spindle belt
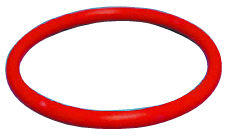 |
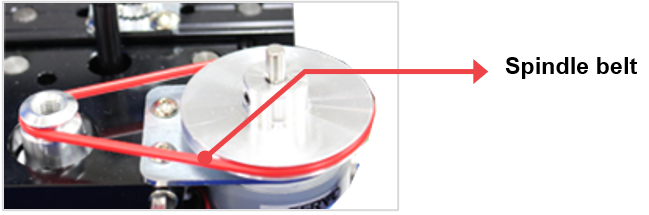
The spindle belt transmits the rotational force of the spindle motor to the spindle to enable fast rotation of the blades. Worn out spindle belts cause the surface to crack and slip, causing the spindle motor to fail or function properly. If the force is not transmitted properly, the spindle’s rotational speed will decrease, leading to poor engraving performance and quality. Additionally, a damaged spindle belt has the potential to cause the tool to break. |
• Spindle Belt Size: 60Ø (60mm)
• Replacement Cycle: The lifespan of the spindle belt is contingent upon the conditions of use, but it should be replaced at the latest every two to three months.
• Spindle Belt Replacement Method: You will see a red rubber belt attached around the head. Remove this belt then replace it with a new one.