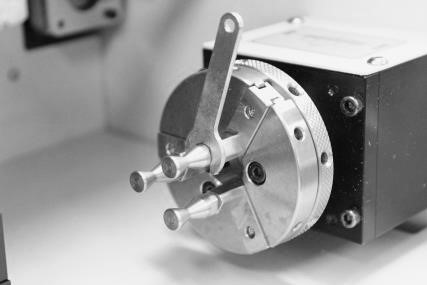
The built-in rotary clamp is used for engraving both the inside and outside of rings.
※ When marking on the inside of a ring, marking beyond the angle of 30° may not be possible.
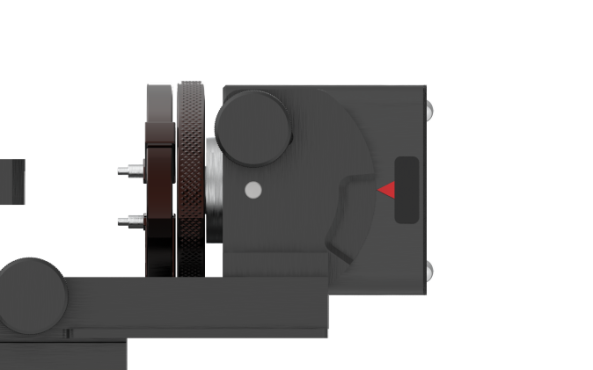
¶ How to activate ring engraving mode
Press the rotary clamp button to activate ring inside/outside engraving mode.
| Mode | ||
|---|---|---|
 |
CNC Mode | From left to right [Cancel, CNC Flat, CNC ring outer diameter, CNC ring inner Diameter] modes.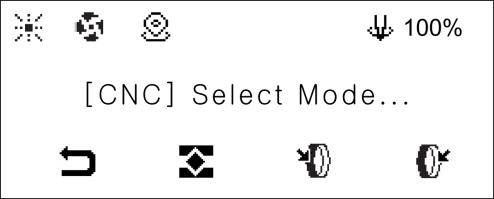 |
 |
Laser Mode | From left to right Cancel, Laser Flat, Laser Rotary 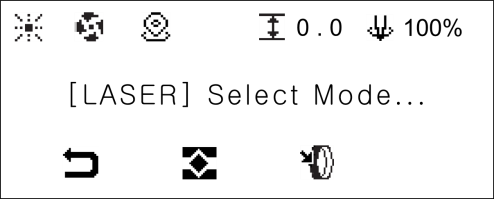 |
¶ How to secure the ring in place
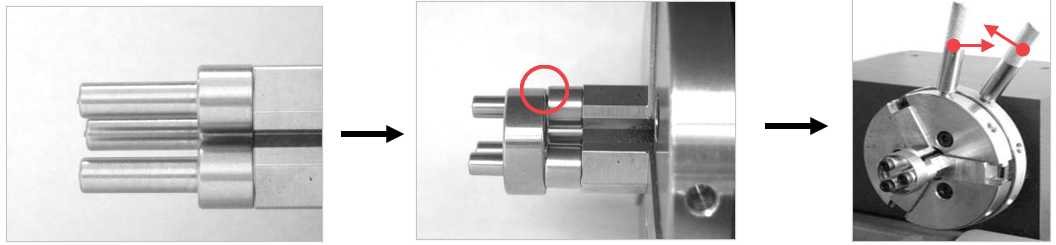
- When engraving the outside
Place the ring onto the finger chucks. Rotate the rotary clamp to outward-inward directions to lock and secure the ring in place. Make sure that the ring is firmly attached and locked so it won’t fall off or spin during operation.
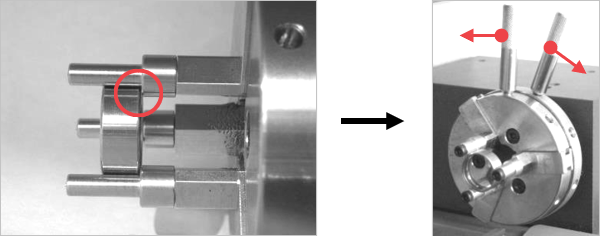
- When engraving the inside
Insert the ring in between the finger chucks. Rotate the rotary clamp to inward-outward directions to lock and secure the ring in place. Make sure that the ring is firmly attached and locked so it won’t fall off or spin during operation.
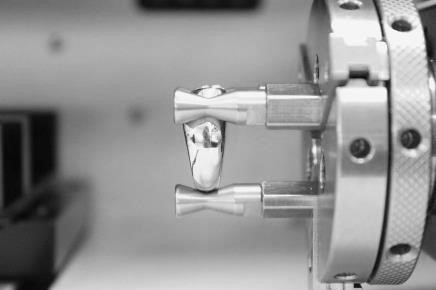
If the thickness of ring is not even, mix different sized chuck fingers to hold it.
¶ Finger Chuck Types
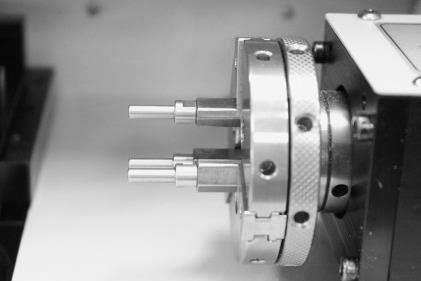
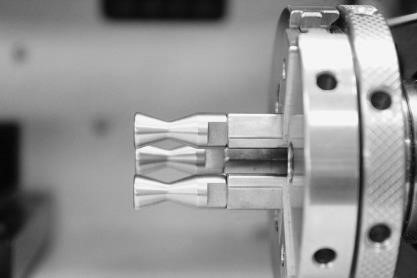
There are three types of finger chucks available to match the shape and size of the ring.
 |
 |
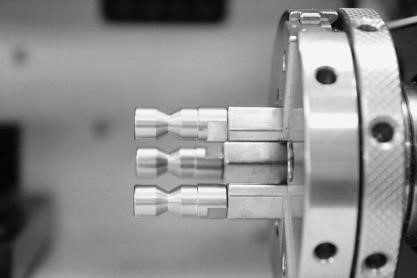 |
| Flat chuck finger | Round chuck finger (wide) | Round chuck finger (narrow) |
¶ How to secure a thin ring when marking the inside
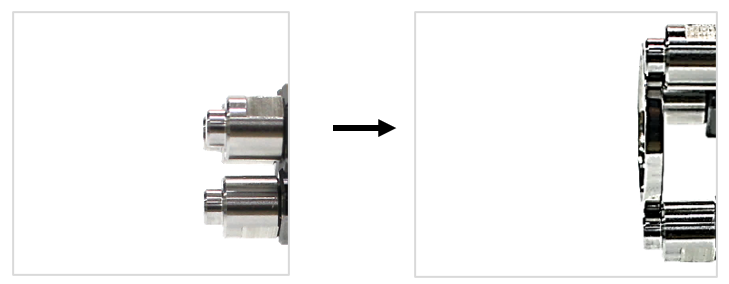
When marking on thin rings, first, replace the finger chuck to 2mm with a finger chuck spanner. Then, insert the ring into the finger chuck. Last, fasten the ring with the finger chuck handle. To widen or tighten the gap of the finger chuck, use the finger chuck handle.
¶ How to replace finger chucks
Choose the appropriate finger chucks for your ring. Insert the finger chucks into the holes then fasten them tightly with the use of a finger chuck spanner.
※The finger chuck spanner is included in the package.