Calibration used to align the engraving positions of the CNC tool and the laser
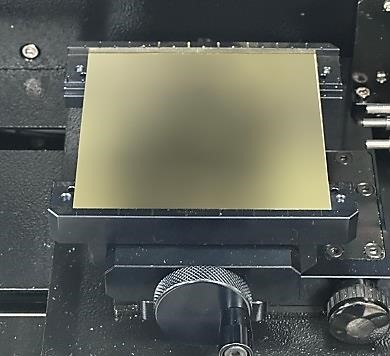
1. Secure the material in the work area. Prepare material that is at least 80 mm (3.15 in) wide and 40 mm (1.57 in) tall.
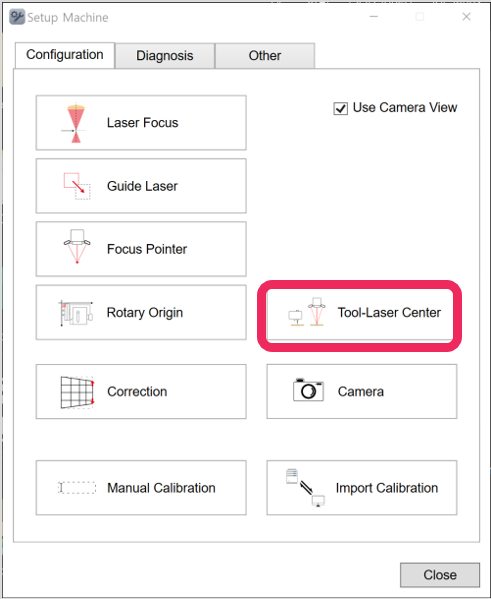
2. Click [Tool-laser Center].
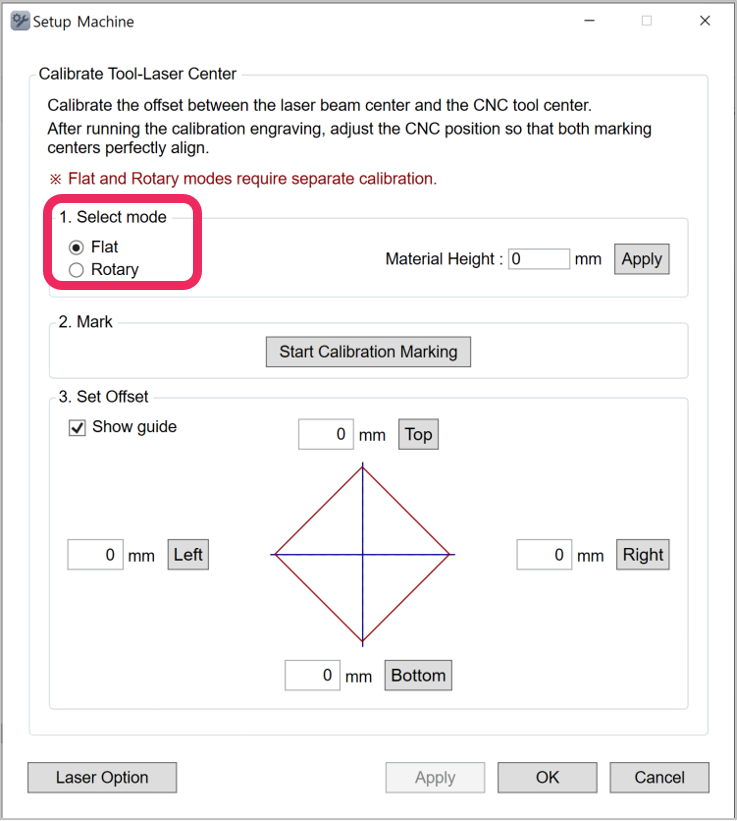
3. Select [Flat] or [Rotary]. Calibration must be performed for each mode.
• Flat: Enter the material height, then click [Apply].
• Rotary: Enter the material diameter and width, then click [Apply].
4. For Flat, secure a flat plate material or pendant.
For Rotary, secure a ring.
Click [Start Calibration Marking] to perform the calibration marking.
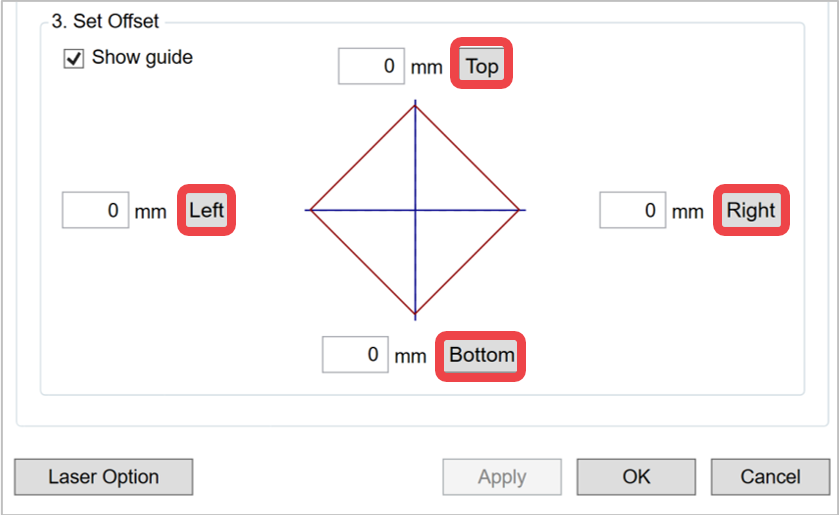
As shown in the figure below, the laser marks a diamond shape, and the CNC tool marks cross lines.
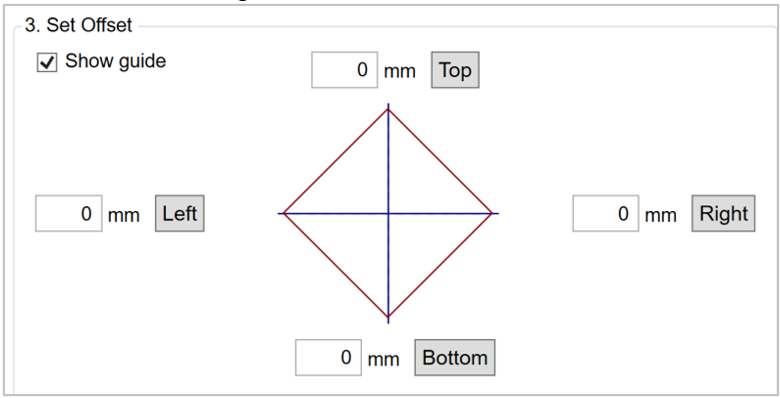
5. 5. Press the [Up/Bottom/Left/Right] buttons to adjust the offset.
This offset adjusts the CNC tool position, aligning it with the laser position.
After adjustment, click [Apply] to apply the value.
6. When calibration is complete, click [OK] to finish.