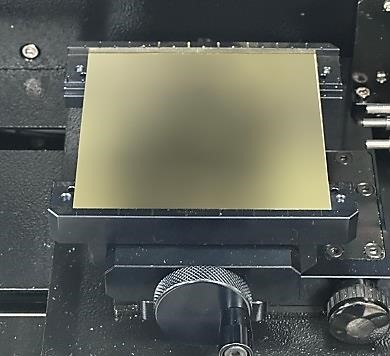
1. Place and secure the material on the clamp.
2. Click [Laser Focus].
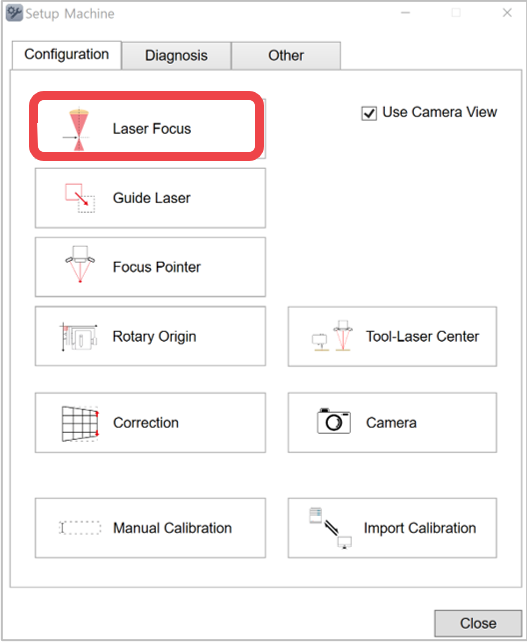
3. Click [Probe].
.png)
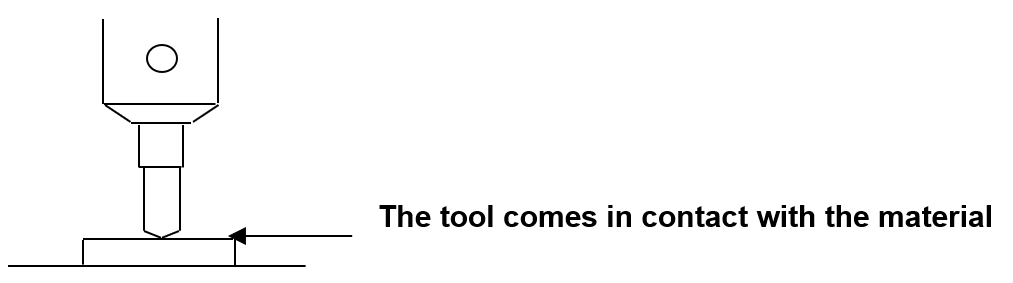
4. When “Probe” appears on the LCD window (as shown below), press [Start] button on the LCD window, then press 
 button to lower the tool until it comes in contact to the material. Loosen the tool fixing bolt with a wrench to lower the tool or lift the material with your hand to make the tool and material come in contact.
5. Long-press and hold  button (for more than 2 seconds) until it beeps to confirm that the setting is saved. The probe will then measure the material then the machine will measure the tool.
6. Press [Check] button to start a test run. Check whether the tool draws four lines on the materials or not. If two lines out of four lines are shown on the material, then it is correct. If three lines are shown, press Z+ ( ) button to raise it by 0.05mm, and if one line is shown, press Z- (
 ) button to lower it by 0.05mm
(※0.05mm per line.)
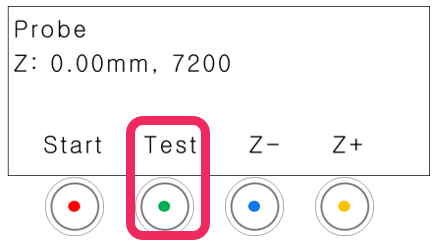
7. Long-press and hold button (for more than 3 seconds) until it beeps to confirm that the setting is saved.