¶ Ring Marking
When marking on the inside of a ring, marking beyond the angle of 20° may not be possible.
Take note that it may not be possible to mark beyond the suggested angle and marking position.
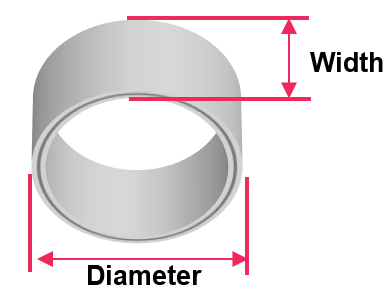
- Measure the width and diameter of the ring.
 |
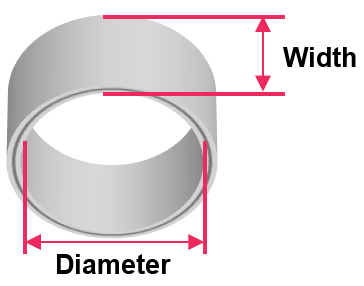 |
| Outer marking – Ring outside size | Inner marking – Ring inside size |
2. [Laser] Place the ring properly on the clamp then use the direction key (Z) 
 buttons to set the laser focus.
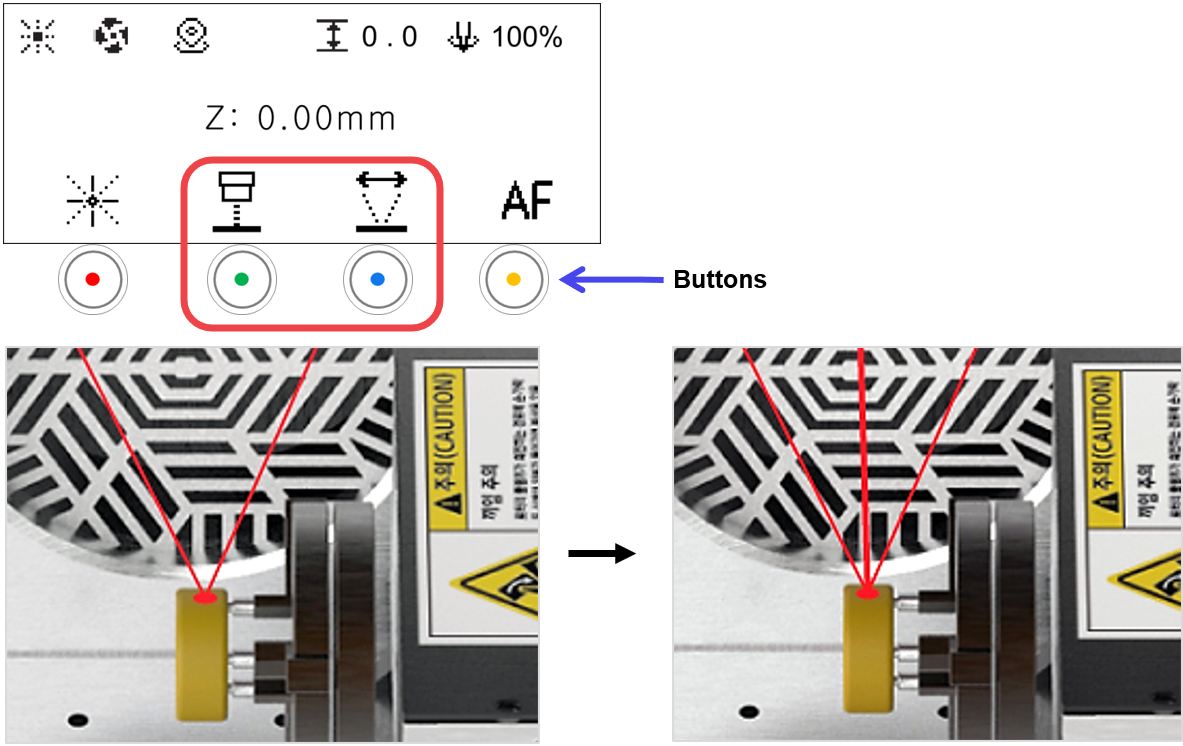
When marking with a rotary clamp, the material or the clamp itself may sometimes get in the path of the focus pointer or may block the focus pointer. If this happens, use a guide laser as a third focus pointer. JANUS has a guide laser available that act as a third focus pointer when the focus pointer is blocked.
To turn on the head pointer, press the  (head pointer icon) button, and if the pointer is not visible, use the
  (left /right area movement mode) buttons to move the clamp to the pointer position.
[Object position]
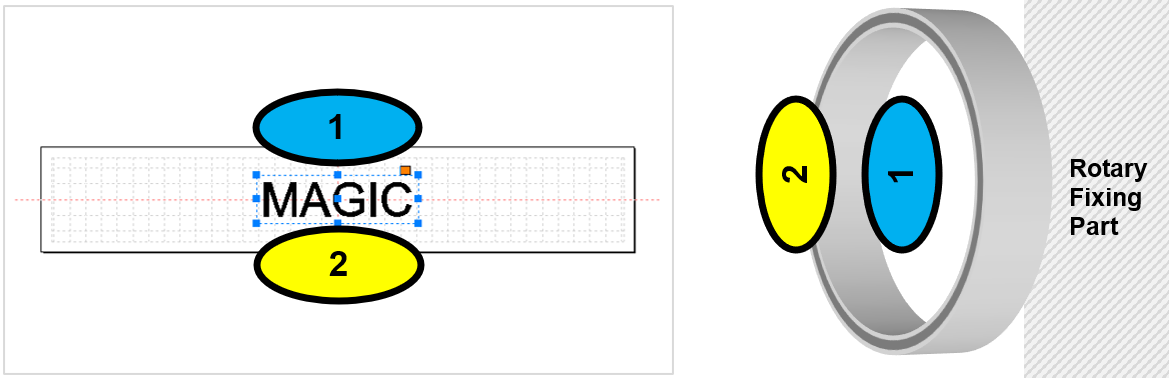
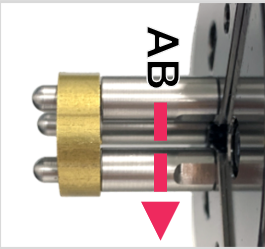
[Engraving direction]
The direction of the characters to be engraved on the ring is shown in the picture below. Check the target location (where you want your characters to be engraved on the ring) then firmly secure the ring.
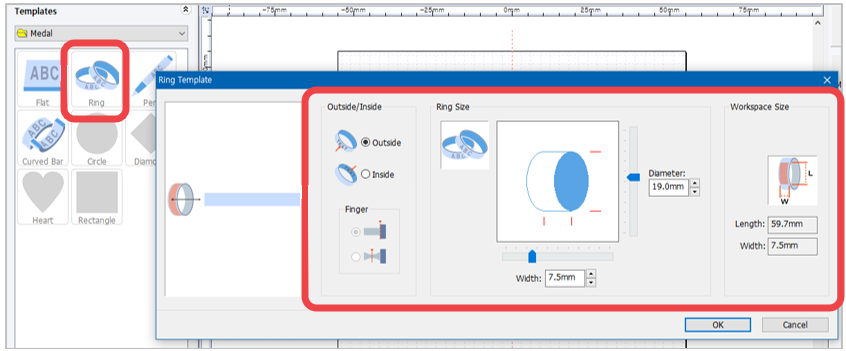
- Double-click “Ring” template in the object property window. When [Insert Rotary Object Template] window appears, select one marking option: outside or inside. Then enter the width and diameter of the ring and click “OK.”
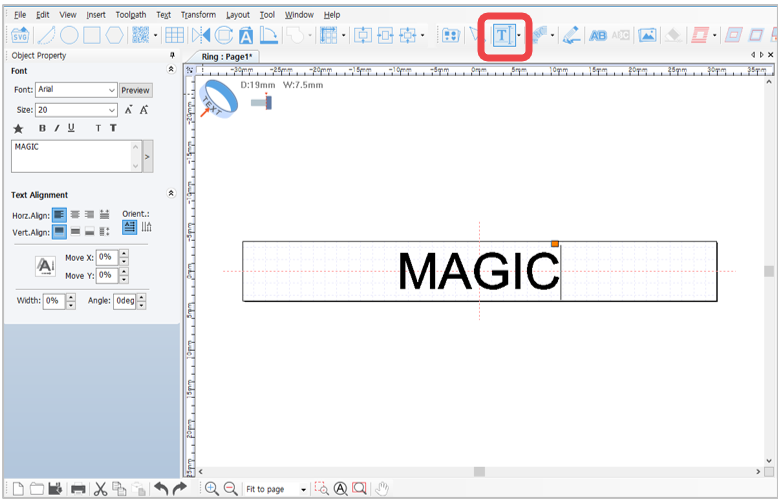
- The template will appear at the center of the screen. Select
 [Text Input] on the toolbar then click at any target area on the work area to enter the text to mark.
- After entering the text, click
 [Selection] on the toolbar to enter the object selection mode. Select the text, then edit its size and font. To place the text at the center of the work area, click
  [Center in Page] button.
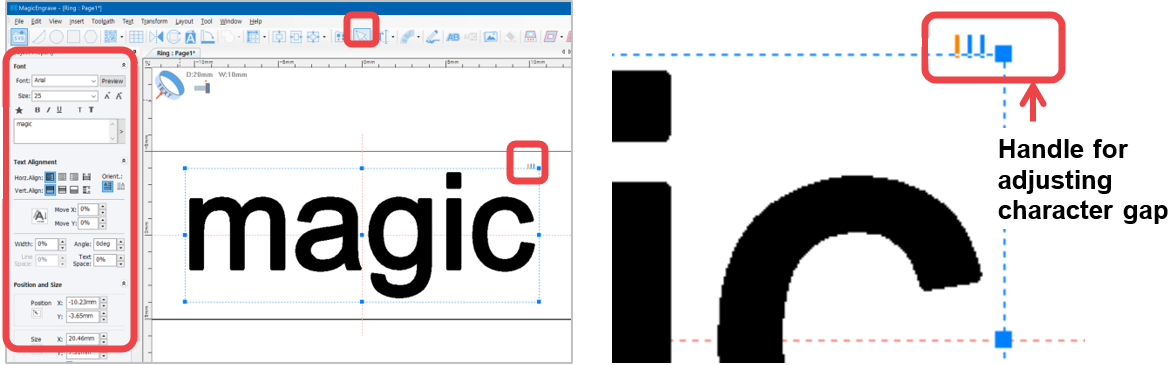
What is Handle for adjusting gaps between characters?
Handle for adjusting gaps between characters is a function that adjusts gaps between characters by dragging characters to target positions.
- Upon completing the design, click [
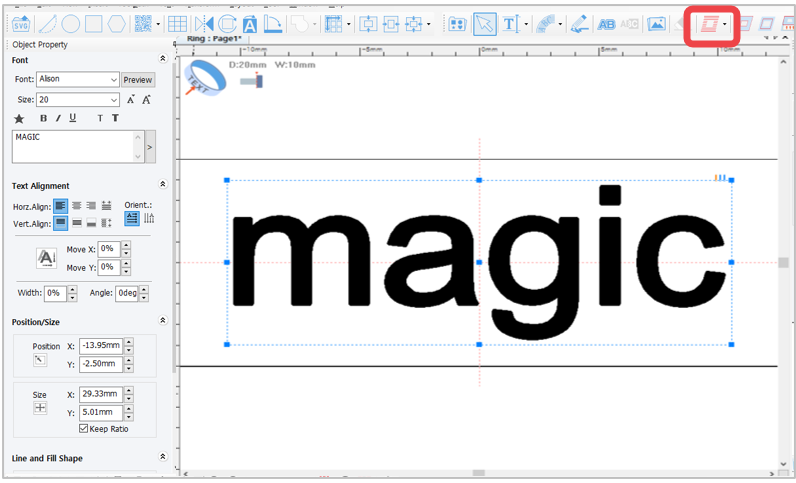
 Scanned line Toolpath] button. A Toolpath refers to a path way of tools.
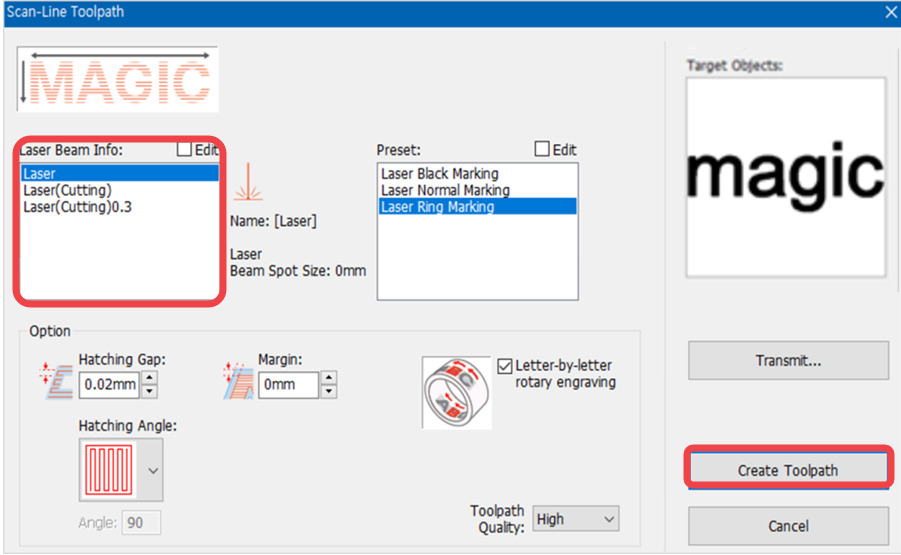
- [Laser] The “Scanned line toolpath” window will appear (as shown in the picture below). Select the tool, toolpath gap and depth then click “Create Toolpath” button.
-Letter-by-letter rotary engraving: Engrave the each text at fixed angle when rotary marking (Text marking only)
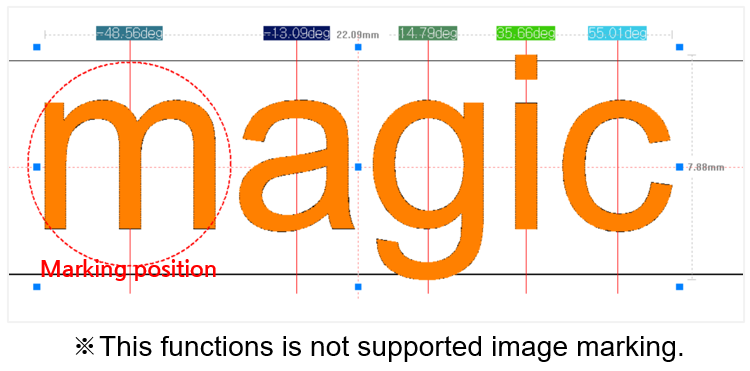
- [Laser] The “Toolpath” object is created with red lines marked or filled on each text (as shown in the picture below). Scroll up the mouse wheel to zoom in the image of the toolpath object to check the line style. You may delete the toolpath object and create a new one if the toolpath is not your preferred style.
9. After selecting your preferred toolpath, set the laser marking option.
Then click  button.
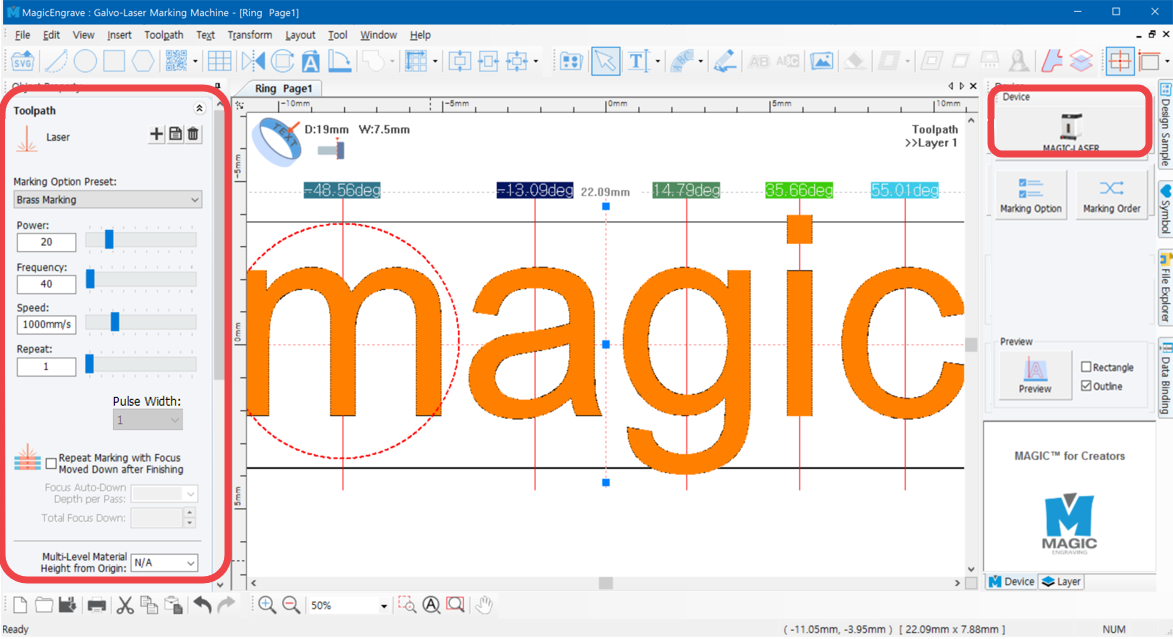
- Once the tool is positioned to the center of the material and the laser pointer turns on, use the direction key buttons to position the laser pointer to the engraving area.
The area that the laser pointer points to is where the actual engraving takes place.
The round laser pointer in the middle represents the origin of the height of laser focus.
 |
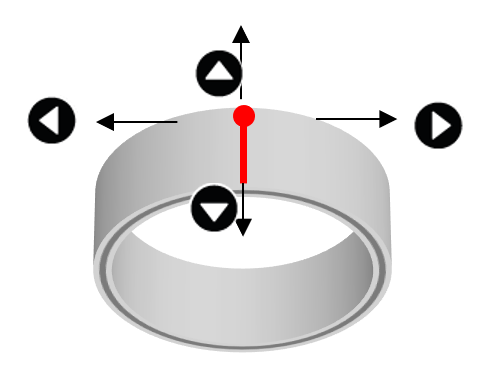
Whenever the direction key is pressed, the laser pointer moves up/down/left/right, showing a marking area.
Check if the marking zone is matched with the area on the material to be actually marked. If unmatched, adjust the position, using the direction keys. The laser pointer automatically points to the area where marking takes place (based on the target location on the work area). When the direction key is pressed, the laser pointer moves to the area to be marked (left, top, right or bottom) from its target location. If the marking area needs to be adjusted to the left, press  key to move the pointer to the left. key to move the pointer to the left.
 |
11. After positioning the laser pointer and determining the location of the marking area, click [Start] button on the program or long-press [ ] button on the machine (for more than 2 seconds) until the cover closes and the marking process begins.
· Repeat marking: Press and hold button to complete marking, then double-click button to repeat marking on the same material.