※Bangle clamp is sold separately.
- Double-click “Bangle adapter” template in the object property window.
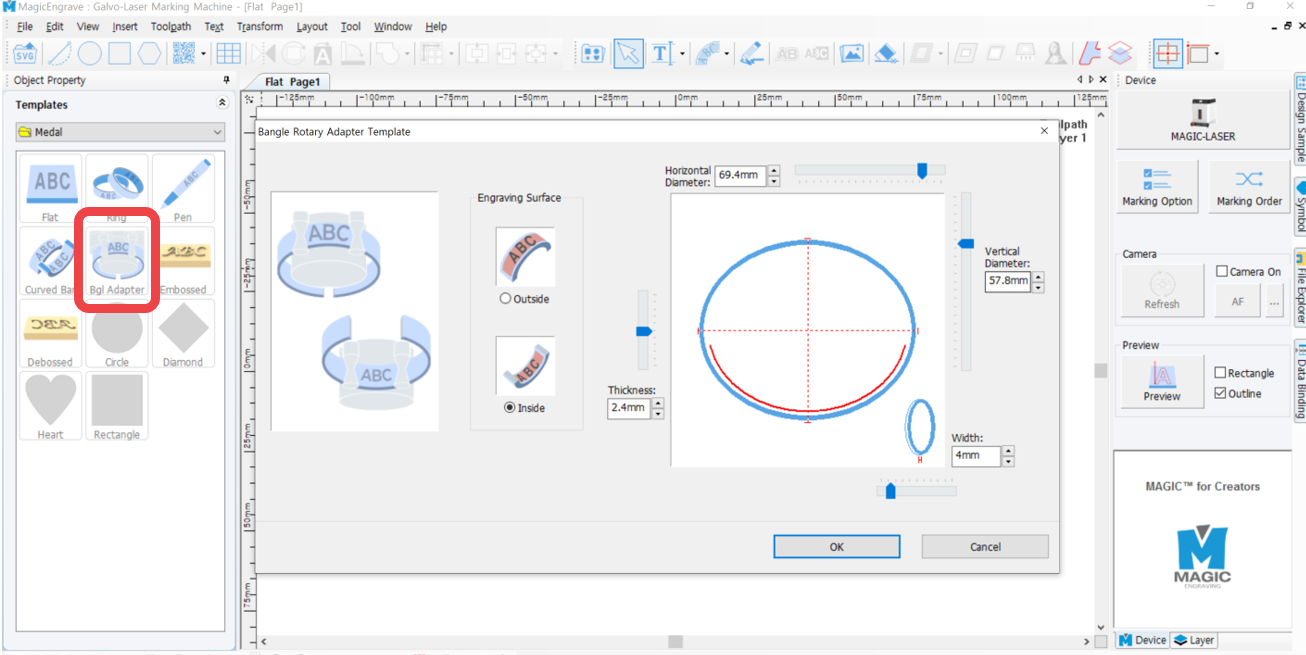
- When [Bangle Rotary Adapter Template] window appears, select one marking option: outside or inside. Then enter the width and diameter of the ring and click “OK.”
※ When working on the outer or inner diameter, the horizontal and vertical diameters must be entered accurately based on the outer diameter. If measurements are entered based on the inner diameter or are not accurate, the final result may not be as intended.
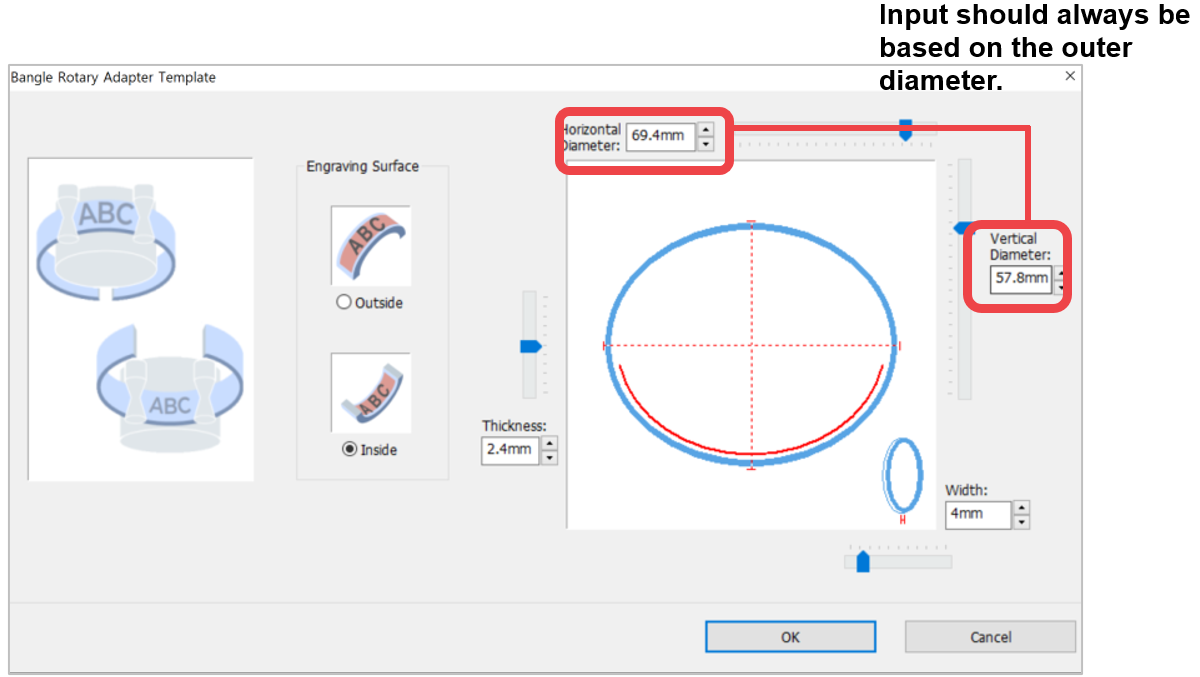
- From this point, the design process follows the same steps as the inner and outer diameter marking process for rings. Please refer to 3 on [Ring Inner/Outer Marking Process] and the subsequent sections
4. Upon completing the design, click [  Scanned line Toolpath] button. A Toolpath refers to a path way of tools.
Once the tool is positioned to the center of the material and the laser pointer turns on, use the direction key buttons to position the laser pointer to the engraving area.
The area that the laser pointer points to is where the actual engraving takes place.
The round laser pointer in the middle represents the origin of the height of laser focus.
※ Unlike the rotary clamp, adjusting the left-right position saves the setting permanently, even after restarting the program.
 |
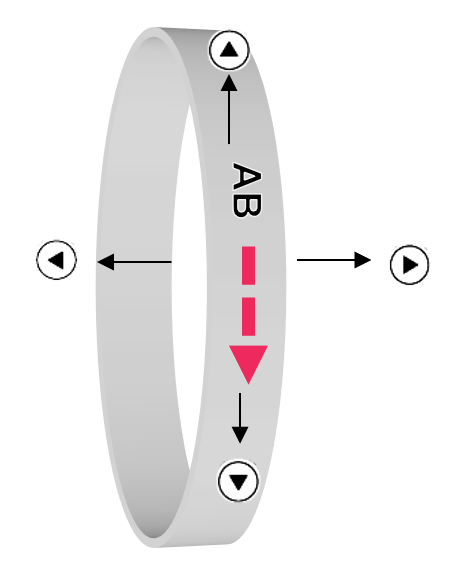
Whenever the direction key is pressed, the laser pointer moves up/down/left/right, showing a marking area.
Check if the marking zone is matched with the area on the material to be actually marked. If unmatched, adjust the position, using the direction keys. The laser pointer automatically points to the area where marking takes place (based on the target location on the work area). When the direction key is pressed, the laser pointer moves to the area to be marked (left, top, right or bottom) from its target location. If the marking area needs to be adjusted to the left, press  key to move the pointer to the left.(AB Marking direction) key to move the pointer to the left.(AB Marking direction)
 |
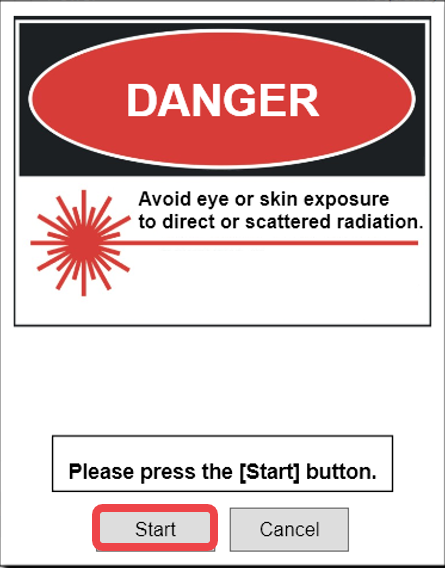
- After positioning the laser pointer and determining the location of the marking area, click [Start] button on the program or long-press [
 ] button on the machine (for more than 2 seconds) until the cover closes and the marking process begins.
· Repeat marking: Press and hold button to complete marking, then double-click button to repeat marking on the same material.
Go to the L3 Prime Application➜