¶ 1. Self-diagnose procedures when the system is turned on
- If an axis is detected by a sensor, the machine moves that axis away from the detection area.
- Checks probe sensor and returns to the origin point
- Checks laser head Z-axis sensor and returns to the recent position
- Checks the CNC head Z-axis sensor and returns to the origin point.
- Checks the CNC head Y-axis sensor and returns to the Origin point
- Checks the clamp X-axis sensor and returns to the Origin point
- Emits a confirmation sound and enters standby mode.
If no problem is found, it goes into standby mode with a confirmation sound.
¶ 2. Marking Procedures
1. Turn on the marking machine.
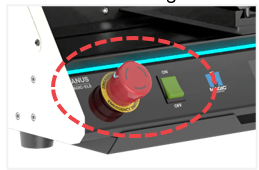
※ If the machine does not turn on, check the emergency switch.
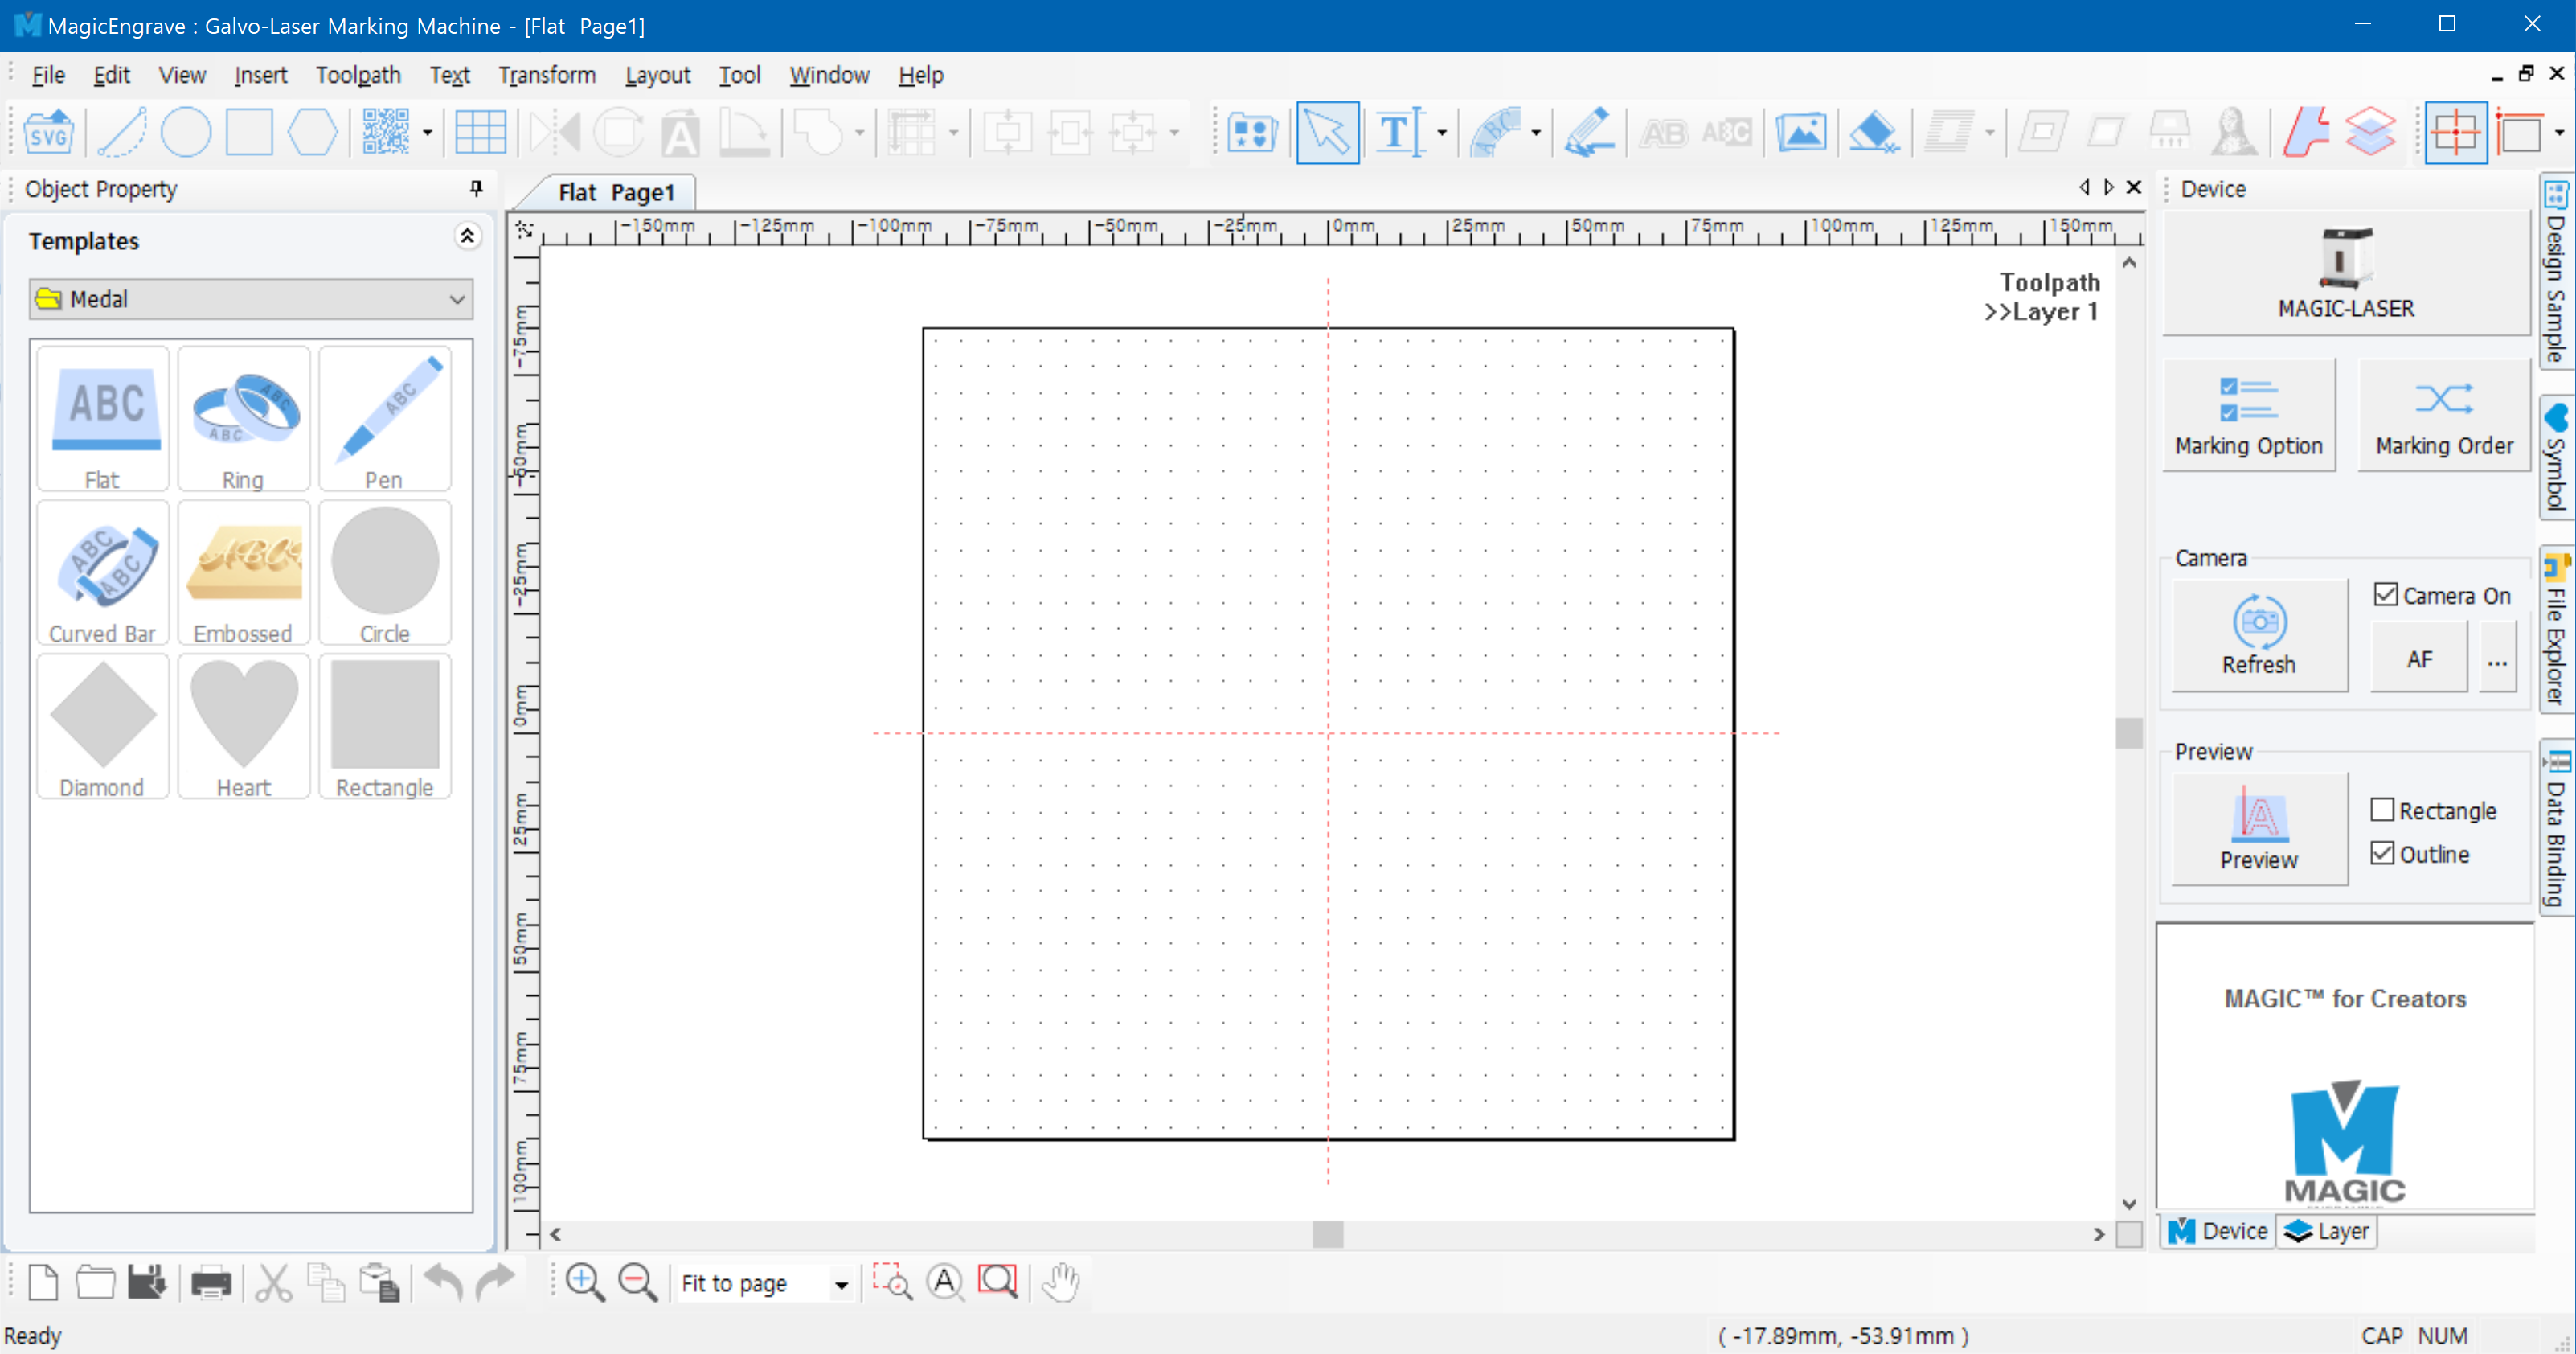
2. Run the program to connect it to the machine.
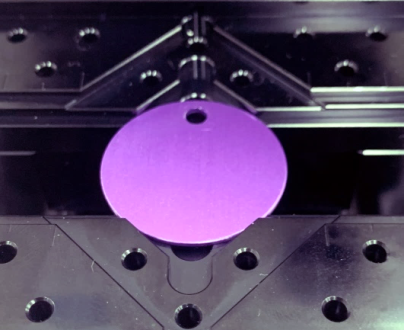
3. Place your material on the work area.
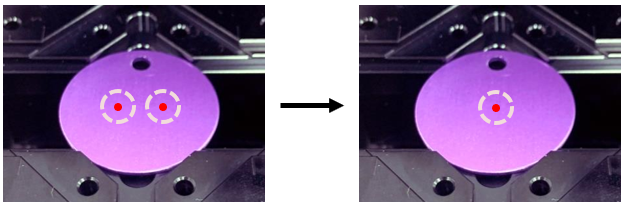
4. Press the AF button on the keypad to measure the material height. * Using the AF function is recommended.
A. Automatic: Press the AF button in the program to measure the height automatically.
B. Manual: Press the ▼▲buttons to adjust the height until the focus pointers meet at a single point.
(※ The machine must be in laser flat mode.)
5. Make your design then create a toolpath.
A. Select CNC when generating CNC toolpaths
B. Select laser when generating laser toolpaths
6. Set the laser marking option. *Laser marking only.
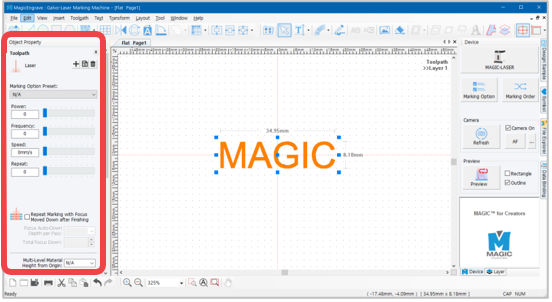
7. Click the [Machine] button to send the marking data.
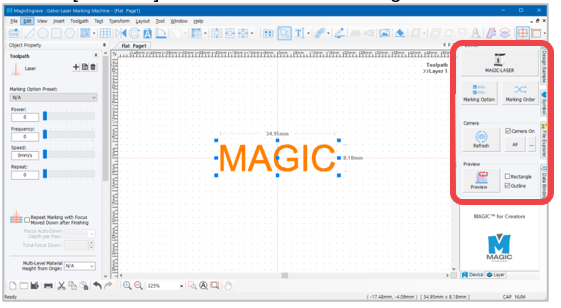
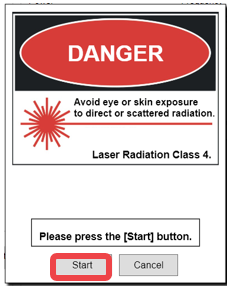
8. Click [Start] or long-press ▶ button (for more than 2 seconds) to start marking.