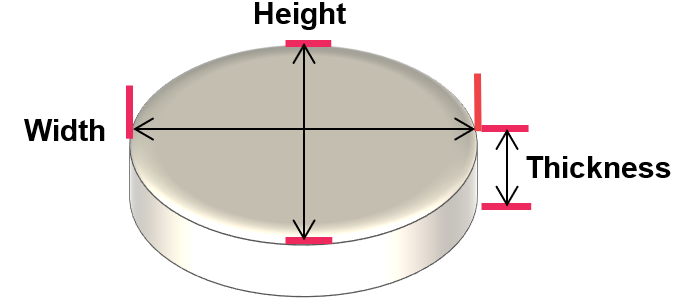
1. Measure the size and height of your material.
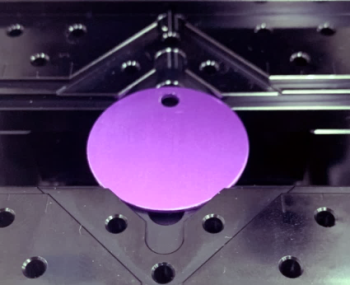
2. Place your material at the center of the clamp.
[Laser]
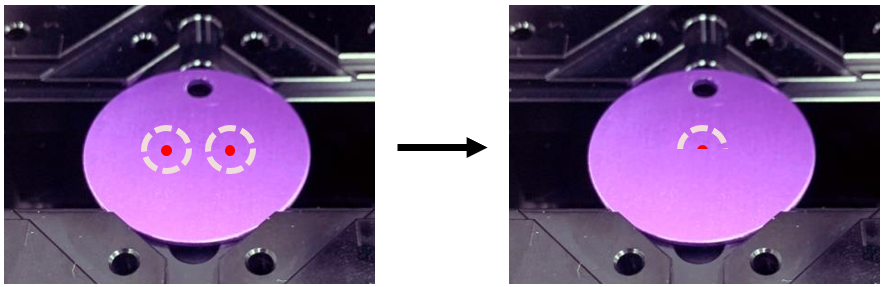
Press the AF button on the keypad to measure the material height. * Using the AF function is recommended.
A. Automatic: Press the AF button in the program to measure the height automatically.
B. Manual: Press the 
 buttons to adjust the height until the focus pointers meet at a single point.
3. Select a template that matches the shape or type of your material from the template category. Enter the size of your material then click “OK” button.
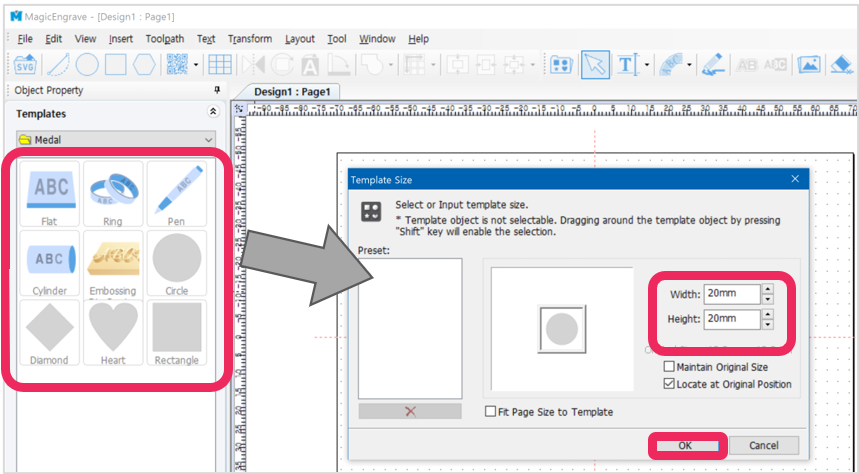
| Maintain original size | The actual size of the registered template is loaded; not the size entered. |
| Locate to original position |
The template is loaded to where it was initially created. If this option is selected, the template is loaded at the center of work area. |
| Fit page size to template | The size of the page is adjusted to the size of the template. |
4. The selected template will appear on the screen. Click  [Text input] button then click at any target location to enter text.
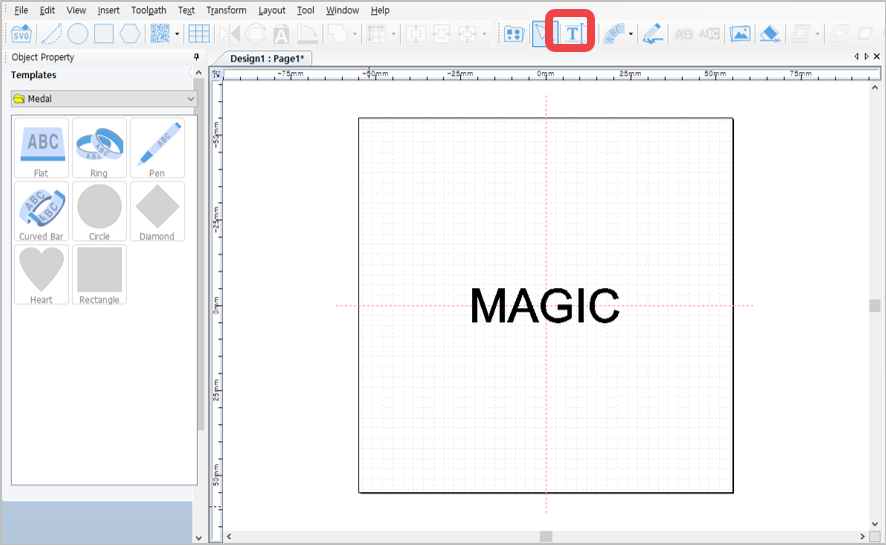
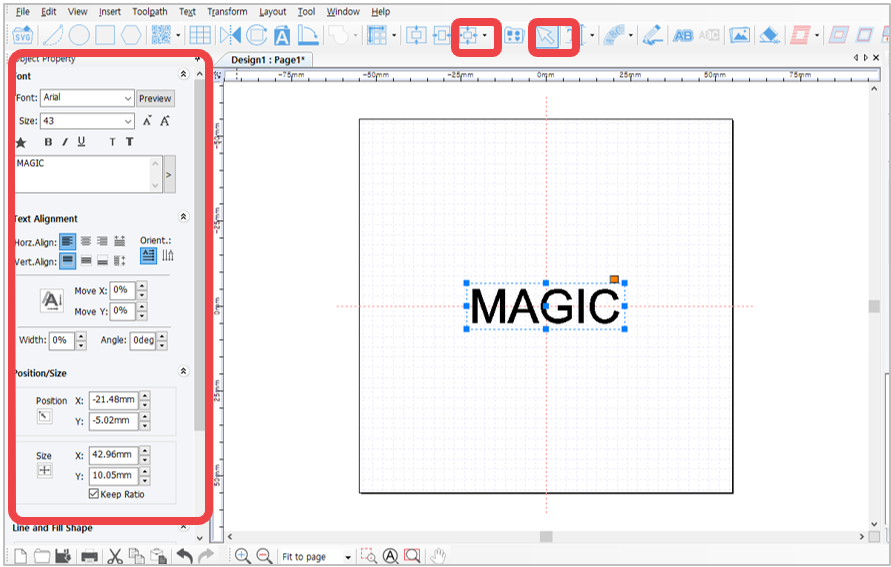
5. Once the text is completed, click  [Selection] button on toolbar. Enable the object selection mode to select the entered text then modify the size, font and thickness of the object. Lastly, click
  [Center in page] button to position the object at the center of the work area.
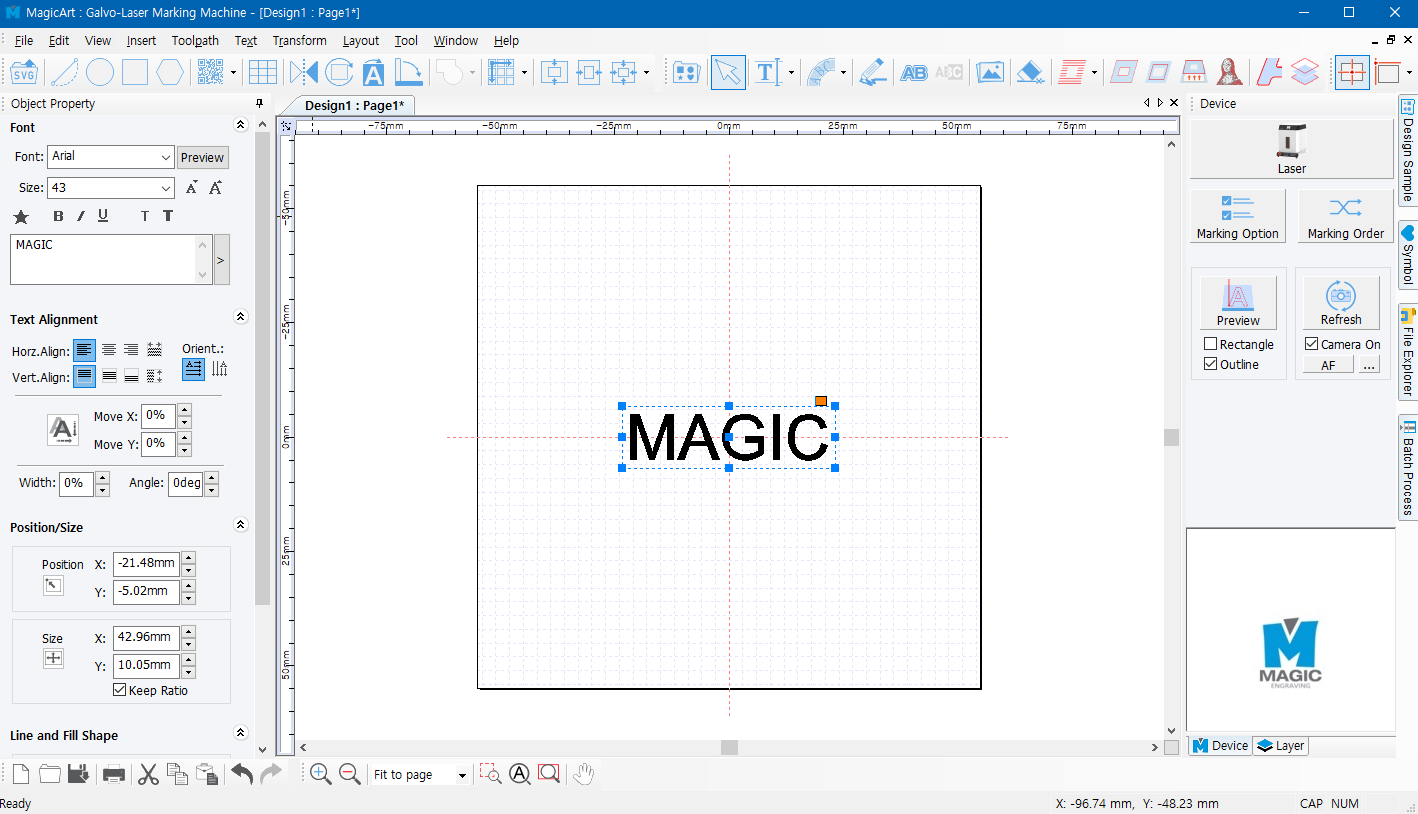
6. Upon completing the design, click  [Scanned Line Toolpath]
✽Click [Engraver] icon on the top right of the screen for immediate marking without creating a Toolpath.
7. Select an engraving option and tool from “Toolpath” window and if necessary, designate gap and depth before clicking “Create Toolpath” button.
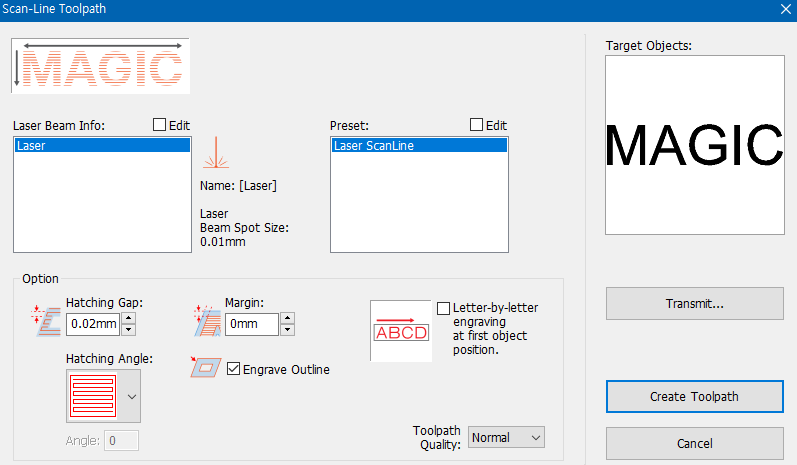
[Scan line tool path]
 |
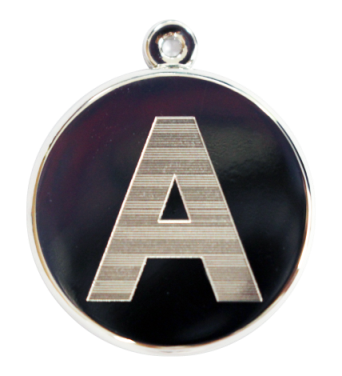 |
| -Scan line toolpath- | -Hatching toolpath- |
*For better engraving quality on large areas (e.g., large fonts or images) use “Scan line toolpath.” Although this may require more time to process.
8. Select a Toolpath then click the [Engraver] button on the top-right of the screen to transfer the data of the selected toolpath to the machine
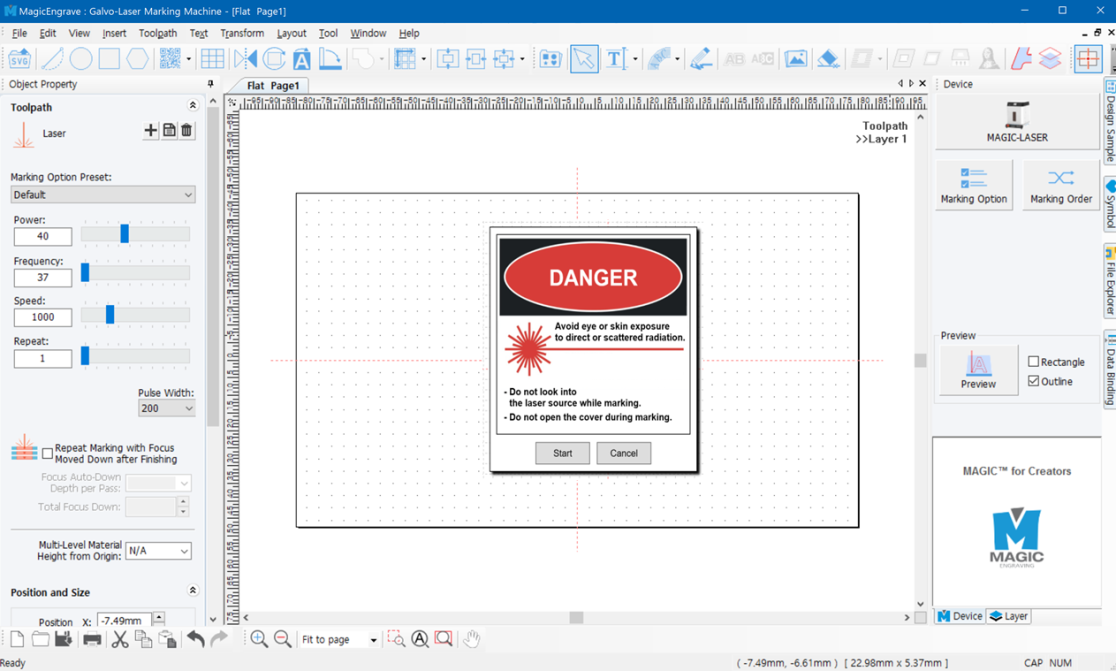
9. Once the tool is positioned to the center of the material and the laser pointer turns on, use the direction key buttons to position the laser pointer to the engraving area. The area that the laser pointer points to is where the actual engraving takes place.
 |
Press the direction key buttons to move the laser pointer to the left, top, right and bottom areas of the engraving area. (Long press to move the laser pointer farther). Check if the laser pointer points to the area on the material where you want to engrave. If the laser pointer is out of range, adjust the position using the direction keys.
The laser pointer automatically points to the area where marking takes place (based on the target location on the work area). When the direction key is pressed, the laser pointer moves to the area to be marked (left, top, right or bottom) from its target location. If the marking area needs to be adjusted to the left, press  key to move the pointer to the left. key to move the pointer to the left.
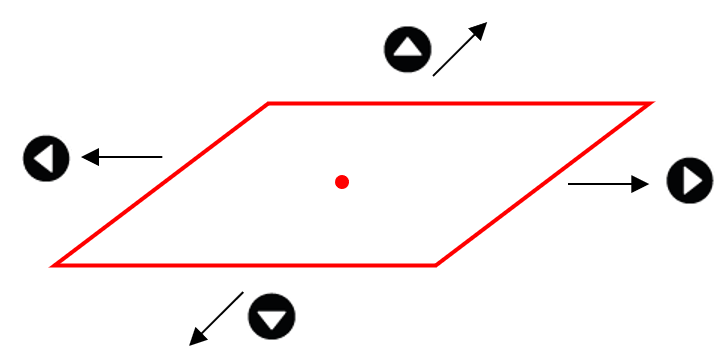 |
10. After positioning the laser pointer and determining the location of the engraving area, long-press and hold  button (for more than 3 seconds) until it beeps to confirm that the machine is ready to engrave then close the cover.
· Repeat marking: Press and hold button to complete marking, then double-click button to repeat marking on the same material.