¶ Cutting Clamp (CP-56)
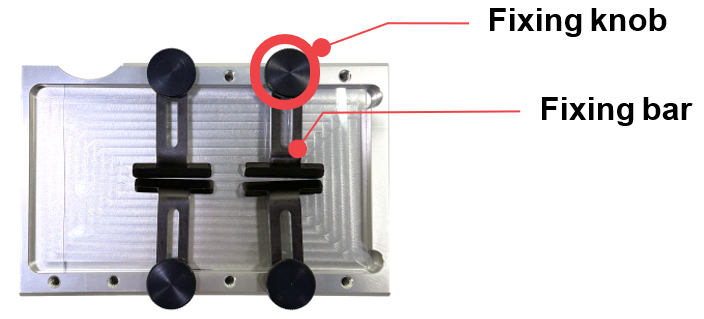
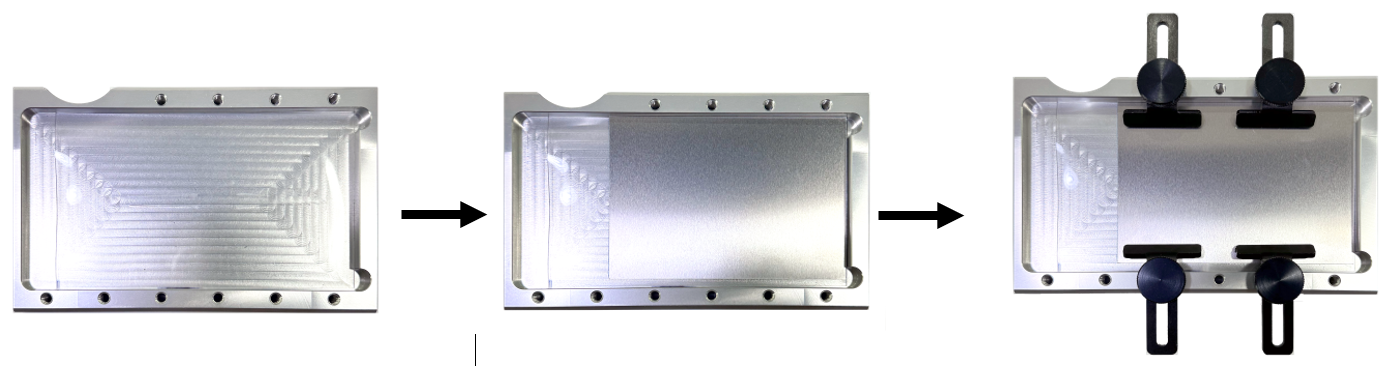
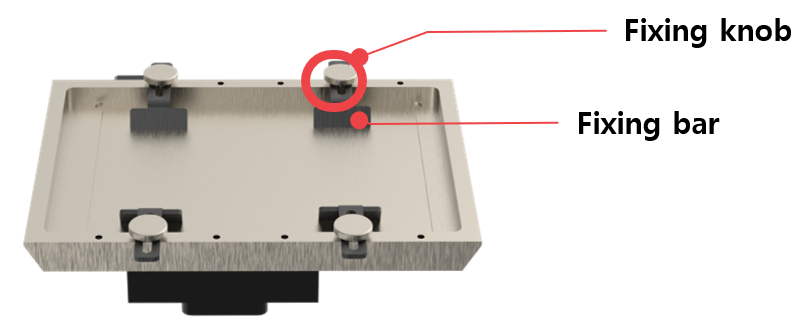
- Place the material on the cutting clamp. Secure the material to the cutting clamp by using the fixing knobs then fasten the fixing knobs with the fixing bars.
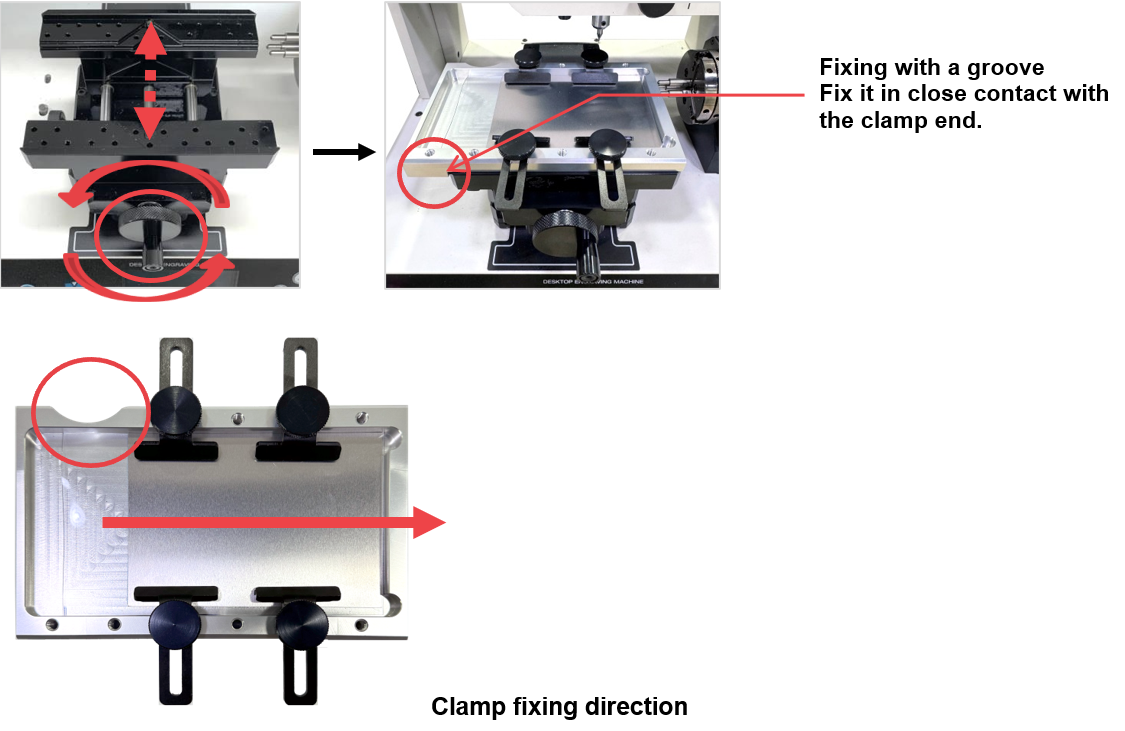
- Fit the cutting clamp on the base clamp then secure it. To loosen or widen the gap for clamping, turn the clamping knob counterclockwise. To tighten or secure it, turn the clamping knob clockwise
After installing the Height Adjustable clamp, secure the cutting clamp to the clamp.
¶ Cutting Clamp (CP-243E4)
※Optional device; sold separately
| Cutting clamp (CP-243E4) |
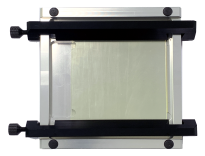 |
1EA | To firmly hold materials in place during cutting process. |
| Cutting nose(4Ø) (CP-243N) |
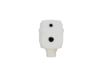 |
1EA | Attached to the head:To protect tools and to cut at specific depth. |
| Pincette | 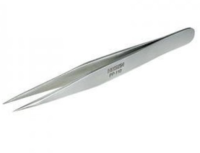 |
1EA | For picking the workpiece safely; to avoid picking the workpiece by hand. |
| Scraper | 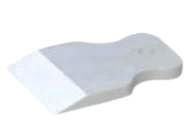 |
1EA | For scraping chips. |
| Cutting clamp cover |  |
1EA | To protect the surface area of the cutting clamp. |
| L-wrench(5mm) | 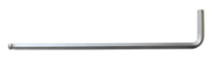 |
1EA | For tightening/unscrewing the bolt. |
| Paper filter | 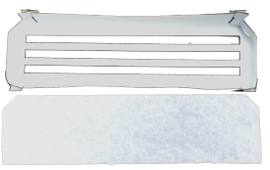 |
10EA | For filtering metal chips. |
[How to set up the cutting clamp]
- Turn the clamping knob counterclockwise to detach the flatbed clamp.
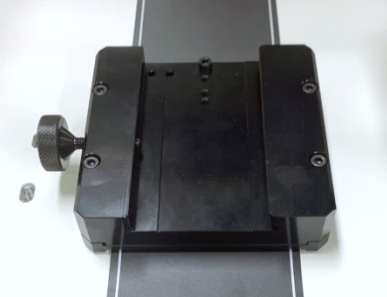
- Insert the cutting clamp onto the clamp then fasten it by turning the knob clockwise.
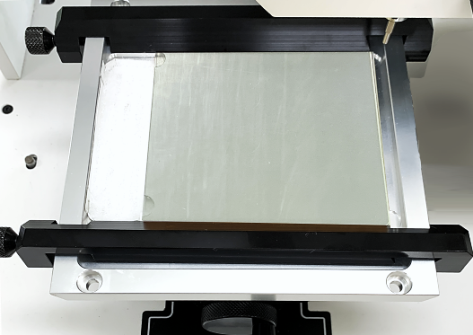
- Use the cutting clamp knobs to widen or tighten the gap in between the cutting clamp.
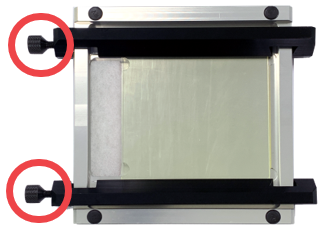
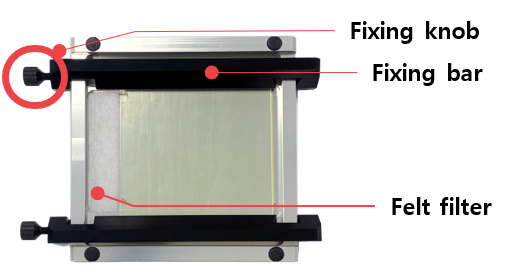
- Put your material on the cutting clamp then secure it by using the fixing bars.
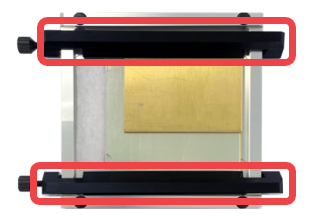
- Hold both ends of the fixing bar then push it inward to adjust to the size of your material. Once the fixing bar is set, turn the fixing knob clockwise to fasten it.
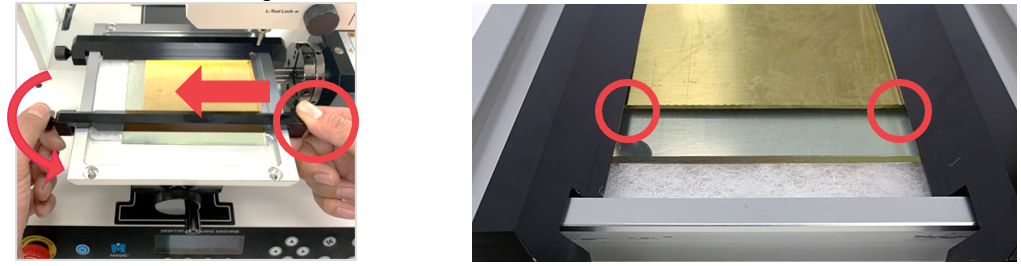
※Make sure that your material is fixed to the cutting clamp. The fixing bar should be fastened tightly to secure your material.
¶ Cutting Clamp (CP-245)
※Optional device; sold separately
| Cutting clamp (CP-245) |
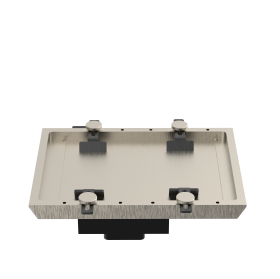 |
1EA | To firmly hold materials in place during cutting process. |
| Fixing bar(Long) | 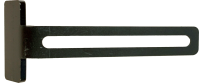 |
4EA | To hold materials in place. |
| Pincette | |
1EA | For picking the workpiece safely; to avoid picking the workpiece by hand. |
| Scraper | |
1EA | For scraping chips. |
| Cutting nose(4Ø) (CP-243N) |
|
1EA | Attached to the head:To protect tools and to cut at specific depth. |
- Turn the clamping knob counterclockwise to detach the flatbed clamp.
- Fit the cutting clamp on the base clamp then secure it. To loosen or widen the gap for clamping, turn the clamping knob counterclockwise. To tighten or secure it, turn the clamping knob clockwise.
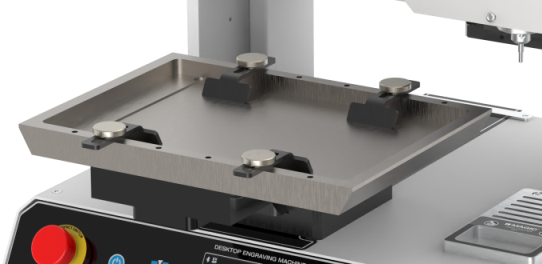
- Place the material on top of the clamp. Secure the material to the cutting clamp by using the fixing knobs and fixing bars.
