¶ (1) Transfer the Toolpath Data after Creating a Toolpath
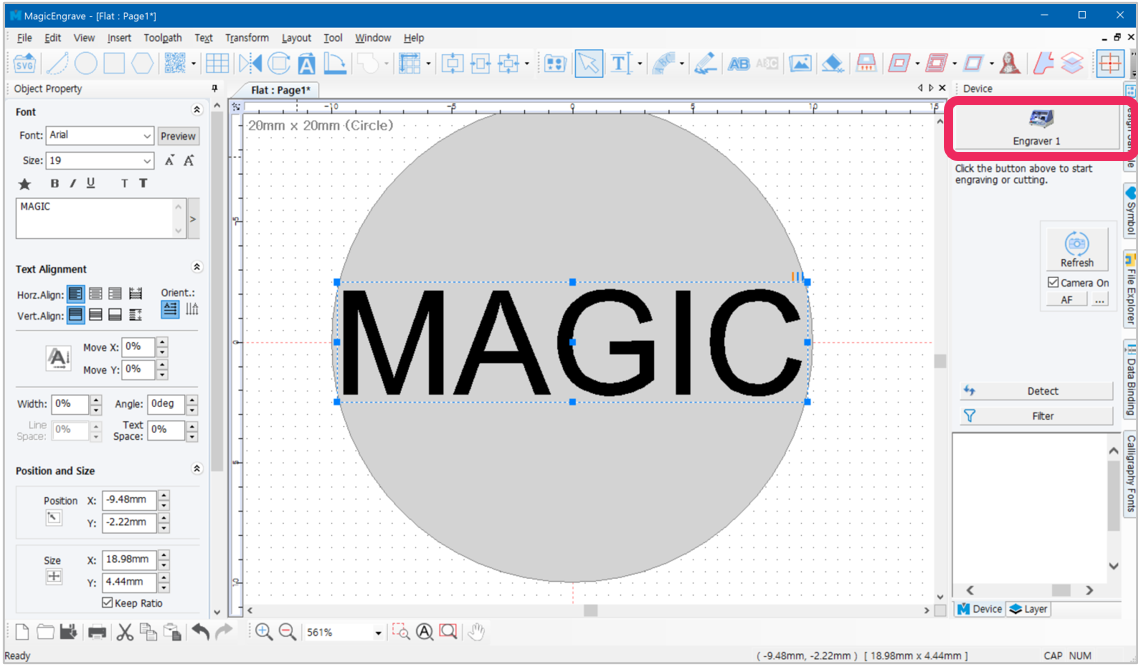
Select a toolpath then click the  button on the top-right of the screen to transfer the data of the selected toolpath to the MAGIC-E3 machine.
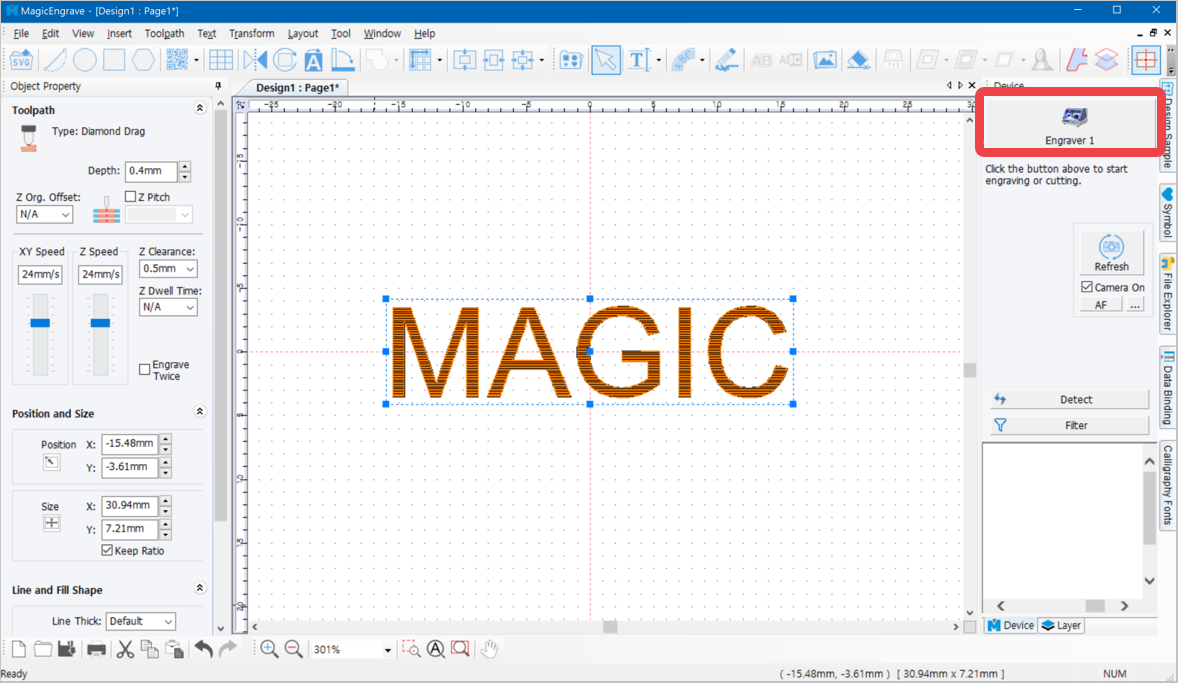
On the NC output window, select a measuring method and other options, then click “Start Engraving” button to start transferring the toolpath data to the selected machine.
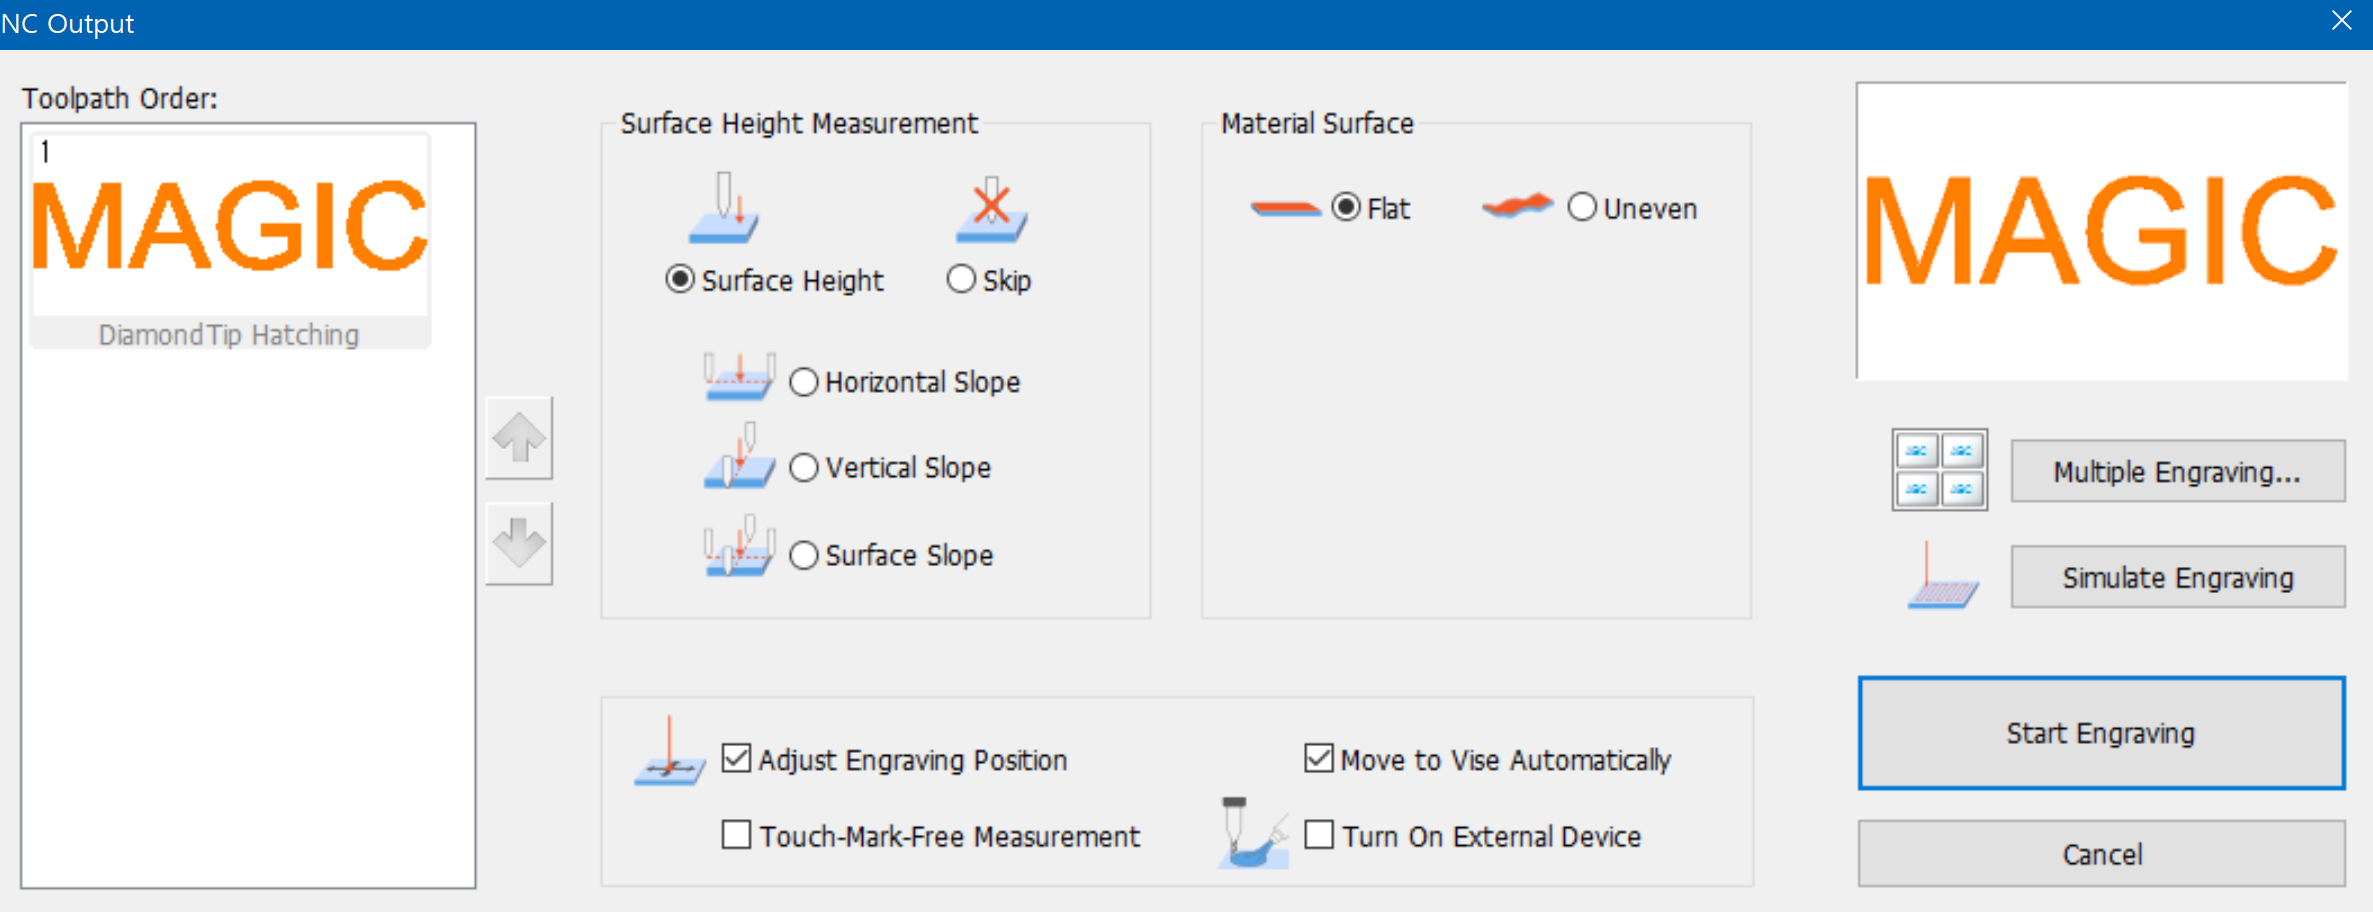
| Toolpath order | The toolpaths are put in order if two or more toolpaths are selected for engraving. The order can be modified by clicking [Up]/[Down] button on the right. | |
| Surface height measurement | Surface height | Measures material height only.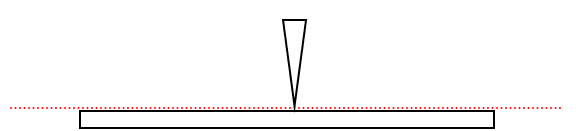 |
| Skip | Skips material’s height measurement and allows the use of the previous height measurement data if the material has not been removed from the clamp during the previous engraving process. | |
| Horizontal slope | Measures material’s horizontal gradient.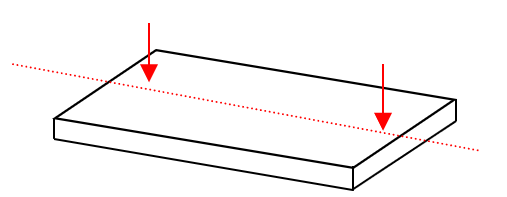 |
|
| Vertical slope | Measures material’s vertical gradient.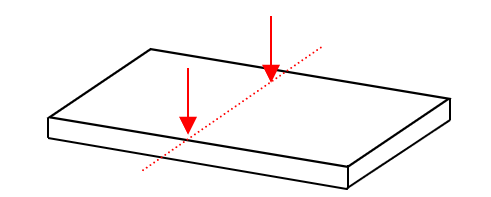 |
|
| Surface slope | Measures material’s top, bottom, left and right gradient.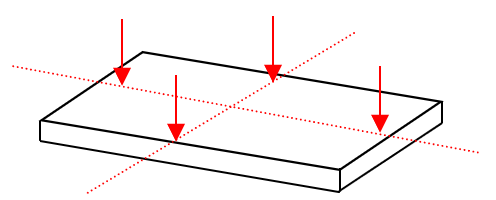 |
|
| Material surface | Flat | Engraves flat-surfaced materials. |
| Uneven | Engraves curve-surfaced materials. | |
| Multiple engraving | Engraves materials repeatedly in constant vertical/horizontal intervals. ✽A vise is used for this automatic engraving and available for separate purchase. |
|
| Simulate engraving | Displays engraving simulation on the material by using laser pointer to ensure that it follows a correct path. | |
| Adjust engraving position | Select this option to re-adjust the engraving location. The laser pointer then adjusts to the engraving location before engraving. If this option is not selected, engraving process will initialize immediately. | |
| Move to vise automatically | Move automatically to the flat or rotating vise based on the selected template. | |
| Touch-Mark-Free Measurement | Prevents height measurement points from leaving any marks. | |
| Turn on External Device | Enables automatic external device operation. | |
✽ “NC output” window when selecting ring template.
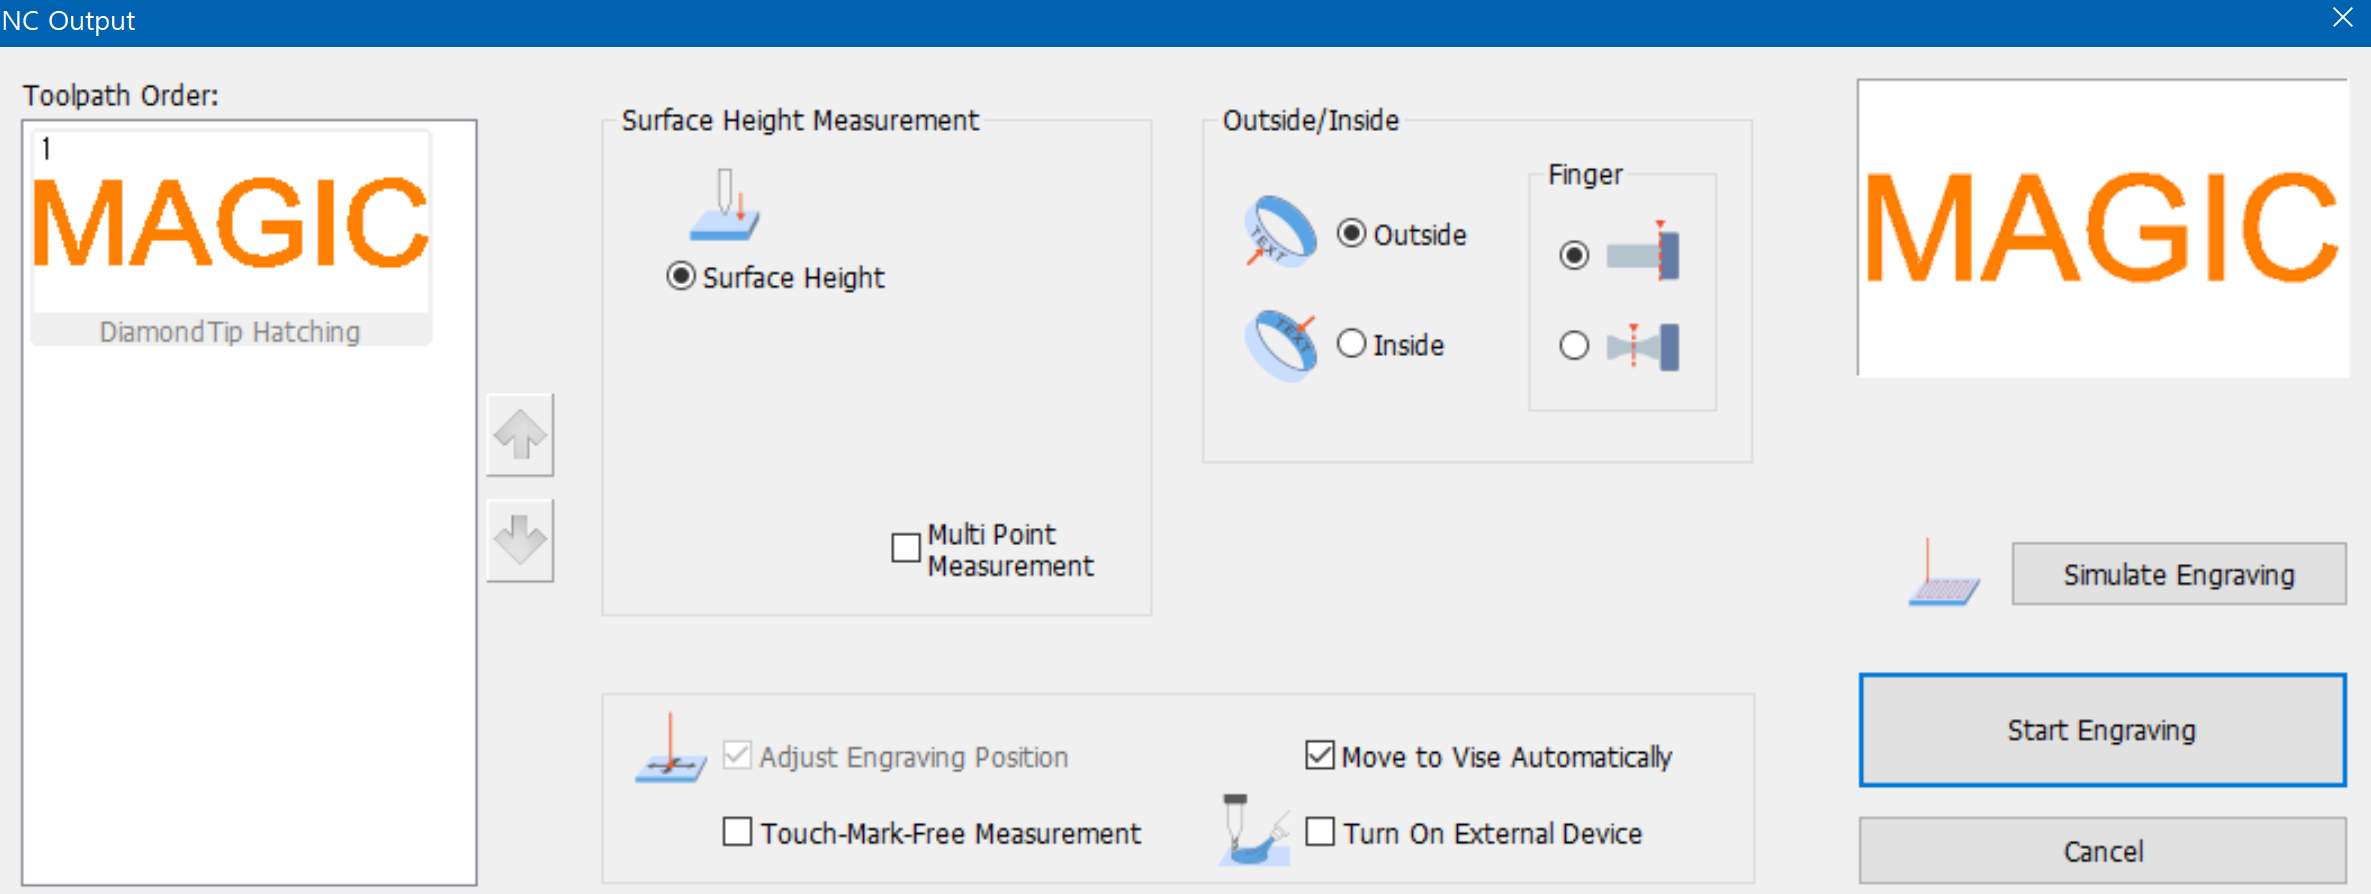
| Surface height | Measures material height. |
| Multi-point-measurement | Measures material height by dividing the whole material into several parts (up to 5 times) |
| Outside | Engraves the outside of the ring. |
| Inside | Engraves the inside of the ring. |
 |
Place the material on the flat chuck finger. |
 |
Place the material on the round chuck finger. |
¶ (2) Transfer the Toolpath Data after Entering Text
Transfer the text data to the engraving machine without creating a toolpath. After creating a text design, click button on the right top of the screen for immediate marking.
¶ (3) Camera
Enable the camera function.
MAGIC™-E3 has a built-in camera used for viewing the marking area. The camera captures the actual image of the material being engraved then sends the image data to the software along with the material’s size and location, allowing users to design, position and adjust the size of their design directly on the material while viewing the camera.
[Camera positioning system specifications]
-Filming area: 90mm x 70mm
-Filming target: flat surface engraving (not available for rotary engraving)
-Camera resolution: 1600 x 1200
-Precision: 0.2mm (*Precision is a calculated number. The actual precision is affected by calibration.)
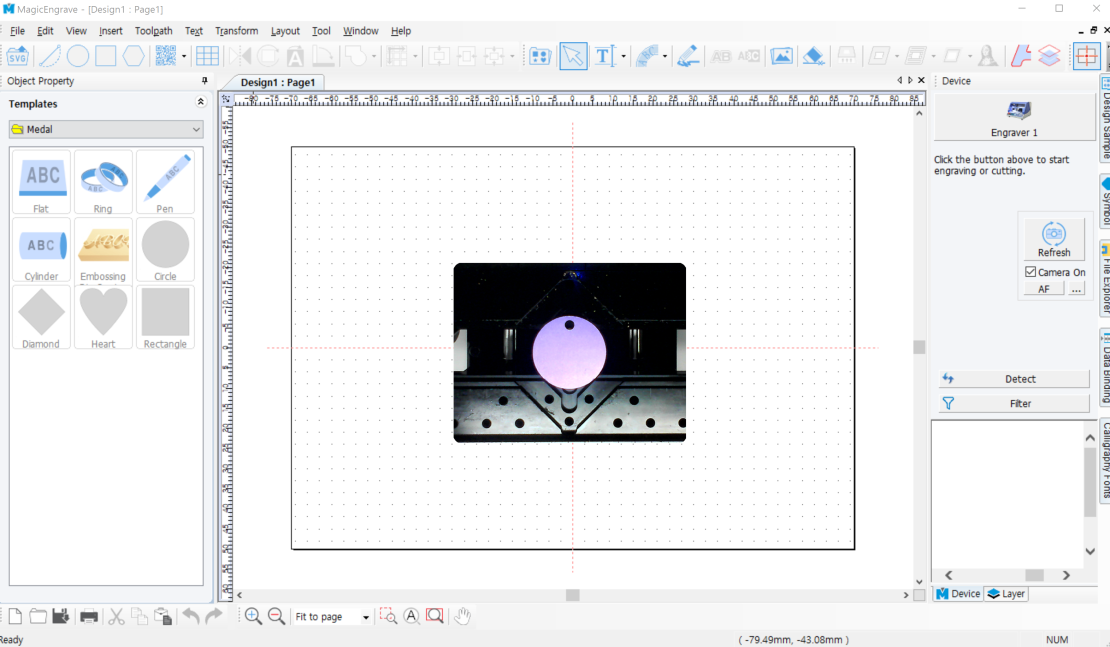
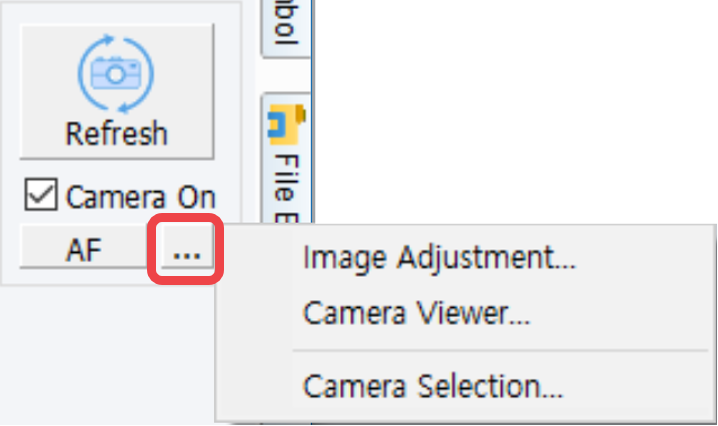
| Refresh | Renew the camera image displayed in the MagicEngrave Program. |
| Camera On | Enable/Disable the camera function. When [Camera on], auto positioning is activated. |
| AF | See [8. Auto Focus] for details. |
| Image Adjustment | Set the camera image options such as contrast, grayscale etc.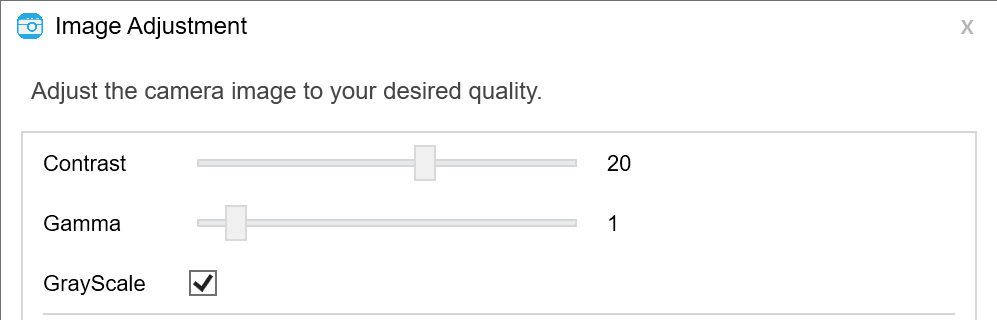 |
| Camera Viewer | View the camera image in a new window.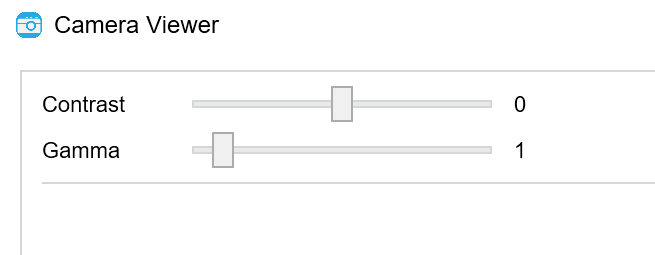 |
| Auto Focusing Sensor | Set the camera image displayed in the MagicEngrave Program (with maximum size restriction). |
| Auto Renewal Frequency | Set the timer the camera image auto displays in the program. Timer: 5 ~ 30 seconds |
| Camera Selection | Select a camera device. If there are multiple camera devices connected to your PC, the camera for laser is automatically set by default or, select the device manually. 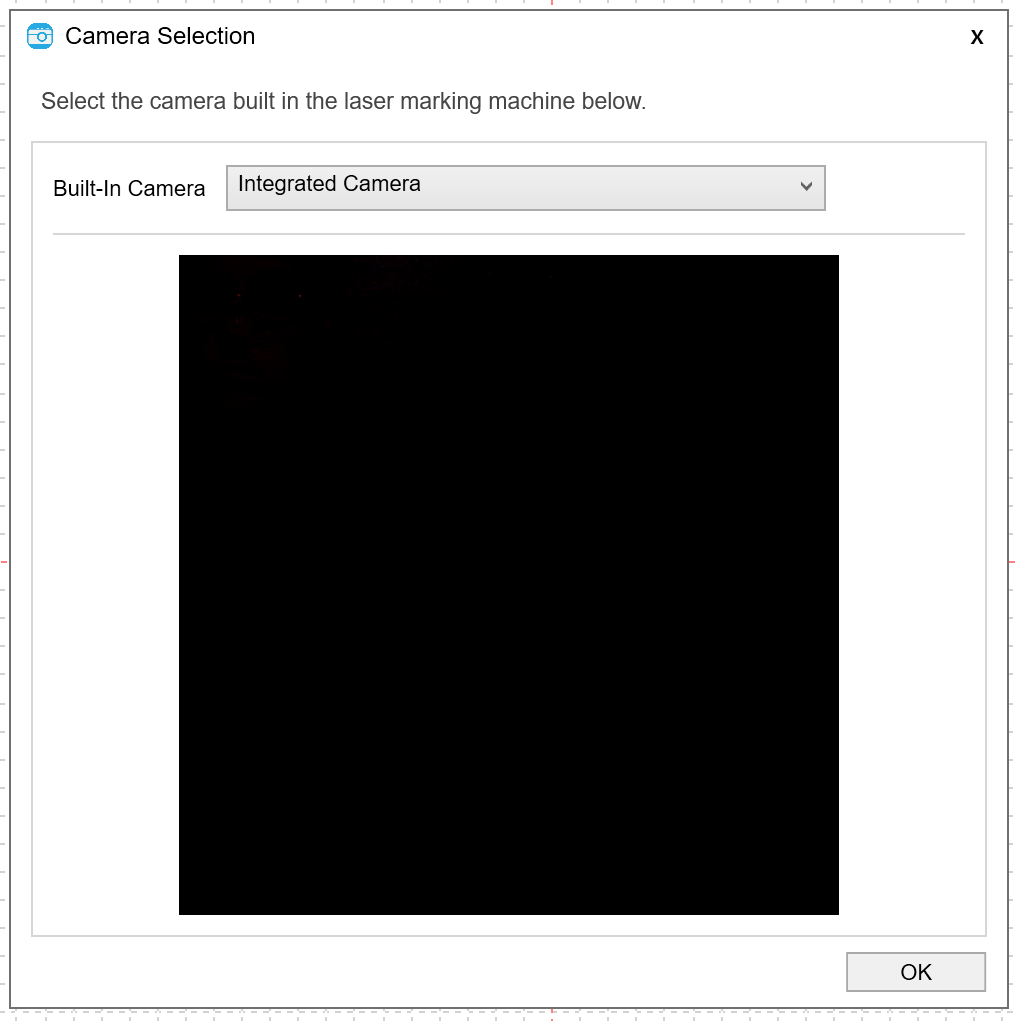 |